This section shows how to create our first workflow in Alteryx Designer using the Alteryx Designer Tour. When you open the Alteryx for the first time, it will show you the Ready to Start Solving window. Either you can start the tour or Close it and work on your own. For the time being, we choose the Start option to create a new workflow.
Add Input Data Tool: Drag and drop the Input Data tool onto the canvas.

Connect to Data: We need some data to perform some operations. Input data tool helps to select or bring the required data into the Altery designer. Here, we have to choose the type of data that we want to get in.

Files: Click the Files tab to select the File.
Select File button: Please click on this button to choose the required file. Here, we follow the Alteryx Designer tour, so select the TutorialData (as specified in the tooltip).

As you can see from the below Alteryx select file screenshot, we have selected the TutorialData.yxdb to create this first workflow.

Add Sort Tool: We added the Alteryx Sort tool from favorites.

Configure Sort Tool: We have to specify the Name and Order. As it said, we choose the UserId and Descending option.

Add Browse tool: It helps to see the data present in the file.

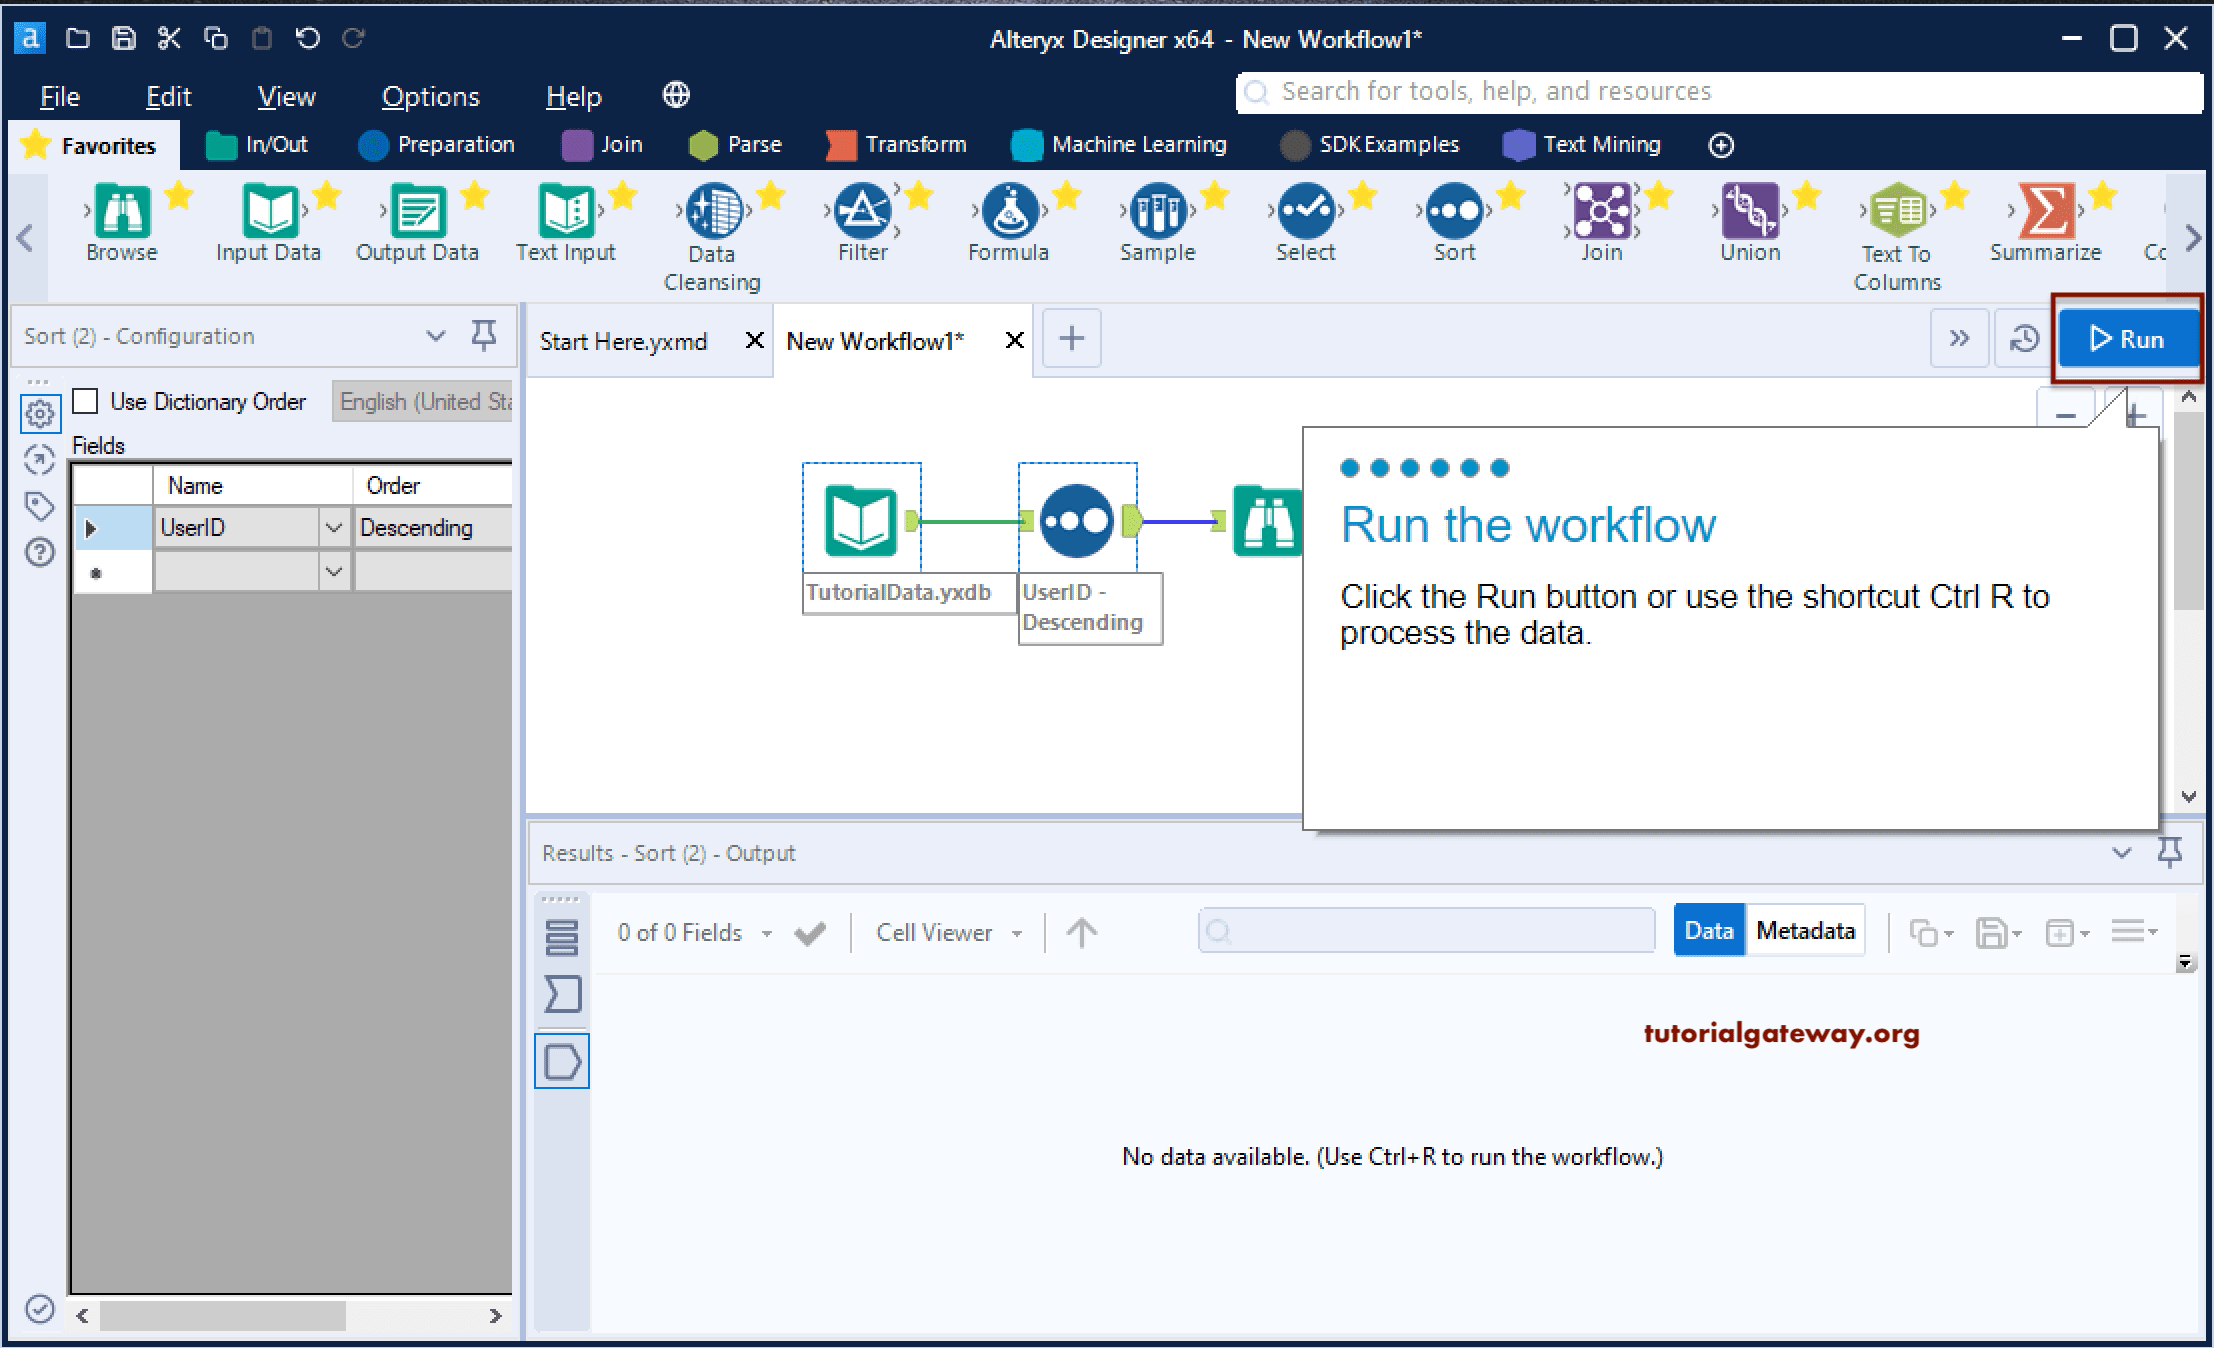
Run the Alteryx Workflow: Please click the Run button.
We successfully created our first workflow in the Alteryx Designer tool. Please click the Return to Workflow button. From the below image, you can see the Alteryx workflow data.
