
Tableau Hierarchy provides drill-down action to the report. With the help of tiny + and – symbols of Hierarchies, we can navigate from a higher level to a nested level or lower level. For this Tableau hierarchy example, we will use the Data Source we created in our previous article.
How to Create Hierarchies in Tableau
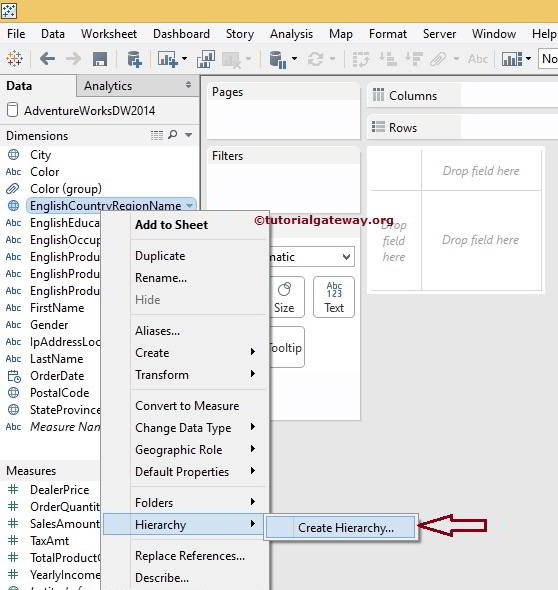
Select and Right Click on the Dimension name on which you want to create a hierarchy in Tableau. Please select the hierarchy option and then select the create hierarchy option from the context menu.
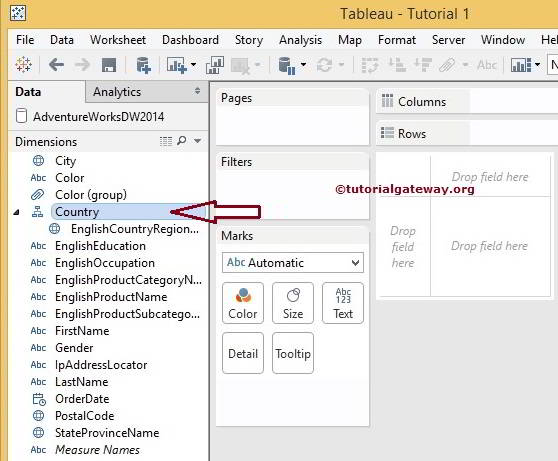
Once you select the option, a new pop-up window will open to rename Tableau Hierarchies. For now, we are renaming it as Country.

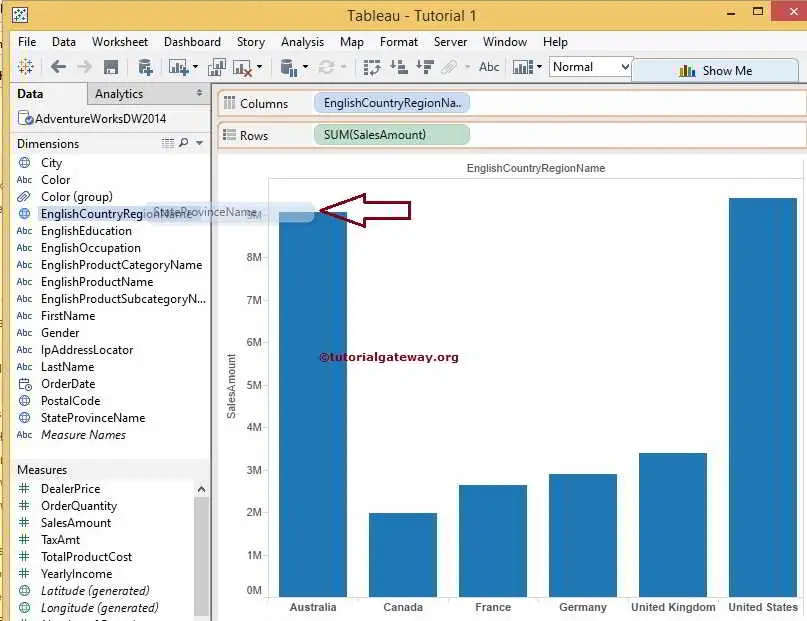
Once you click the OK button, you can see the newly created hierarchy name with the English Country Region Name member on the Tableau desktop. So, Please visit the Data Labels in Reports article to understand the Tableau Data Source.
Add a member to Hierarchies in Tableau
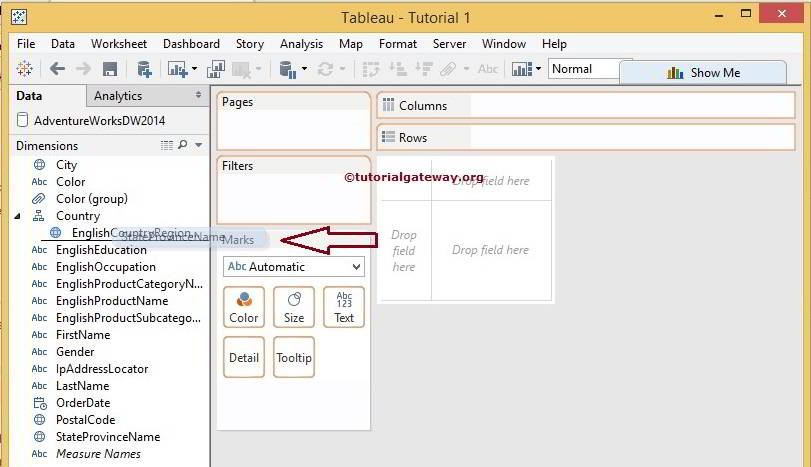
There are multiple ways to add members to hierarchies. The first method is to drag and drop the required dimension to the newly created hierarchy in Tableau. While dropping, it will show a horizontal line representing the member’s position.
For instance, if you drop the State column above the Country name, State is at Level 1, and Level 2 will be Country (Country will nest inside the state), giving a strange result. So, Please be careful while dropping the members.
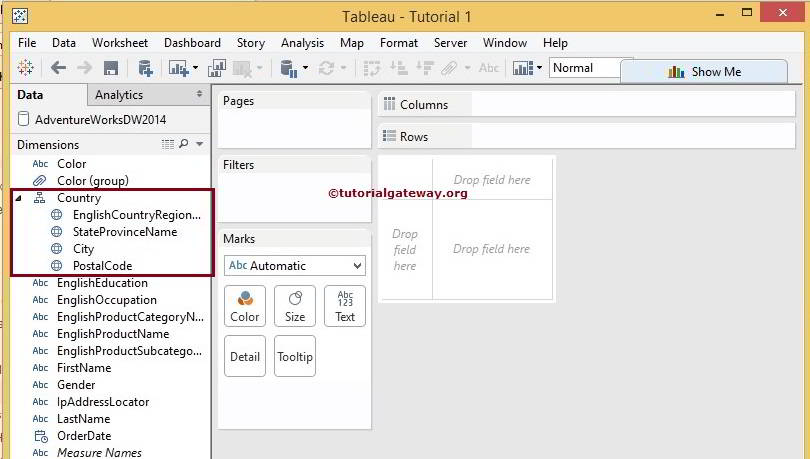
Once you have completed, a newly dragged member will be displayed in the Country hierarchy.
Approach 2 to add a member to Hierarchies
Select and Right-click on the Dimension name you want to add to the existing hierarchy in Tableau. Please select the hierarchy option, then Add to the hierarchy option, and then select the name from the context menu.
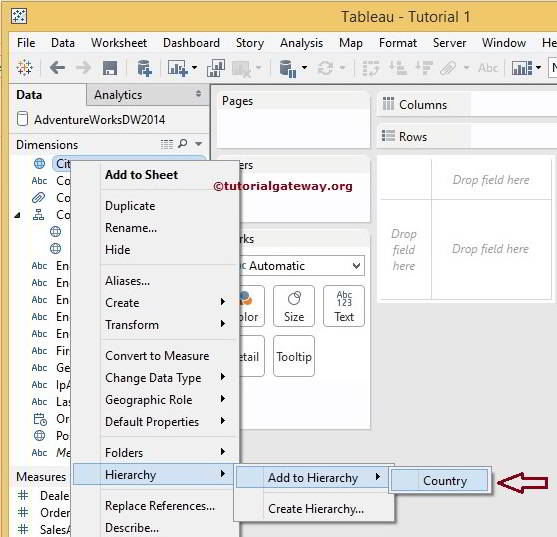
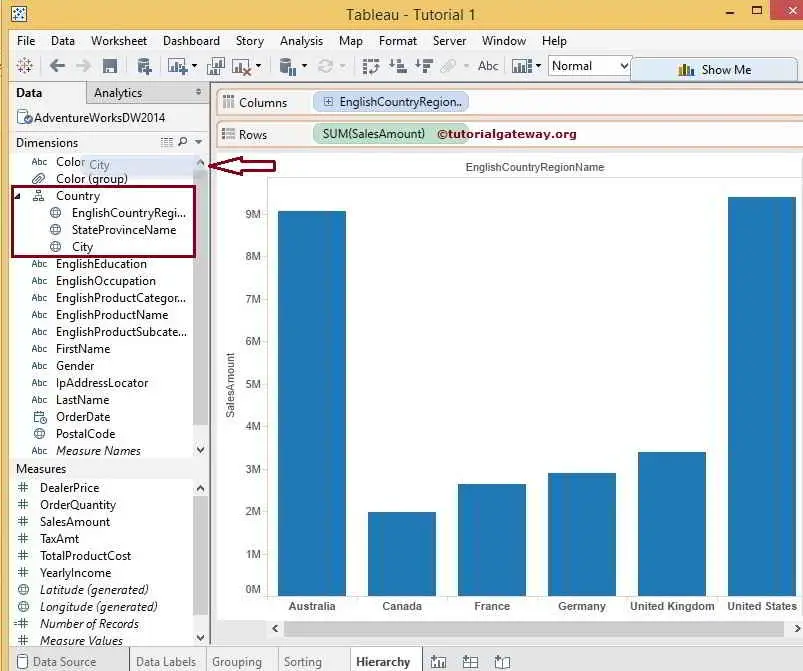
Once completed, Our dimension will be added to the Country. Similarly, we added the Postal code as shown below.
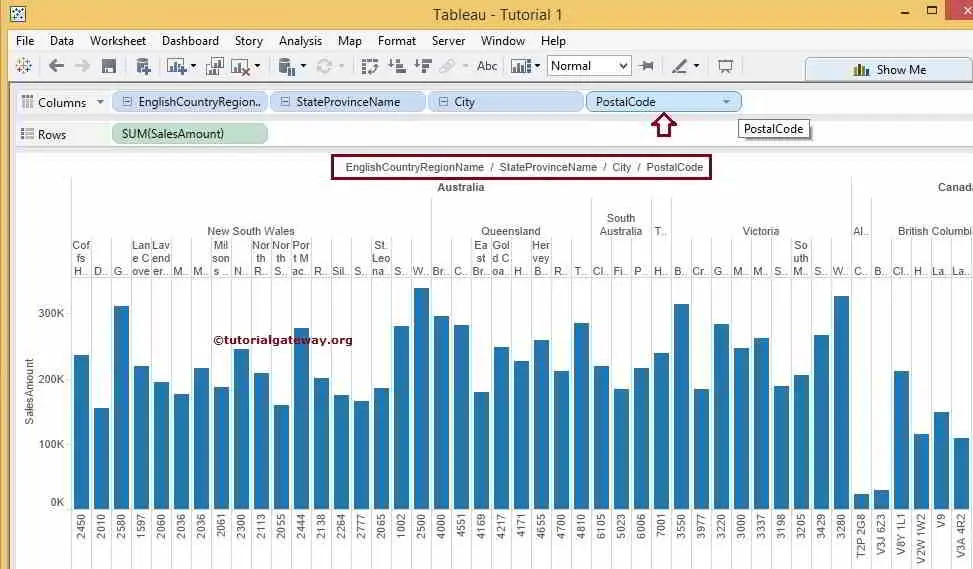
When you add the Country name from the Tableau screenshot below, you can notice the tiny + symbol beside the country name hierarchy. This symbol will allow performing drill down action.
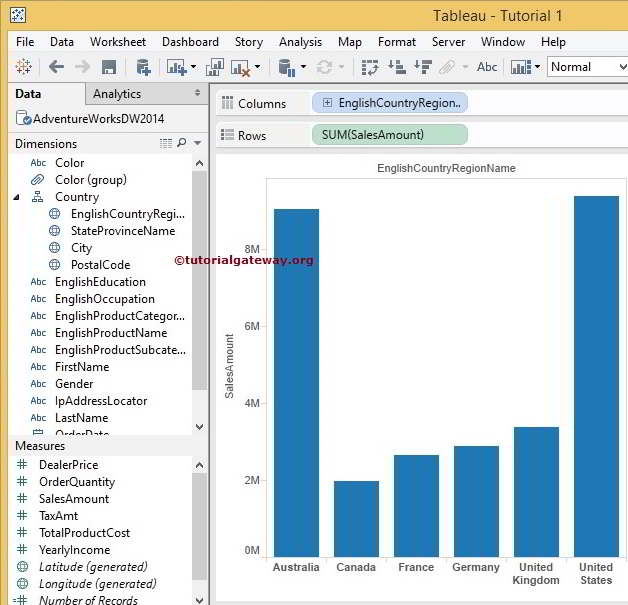
When you expand the Country Region name, the report will display the Sum of Sales Amount for every state in the countries.

When you expand the State name, the report will show the Sum of Sales Amount for the current City.
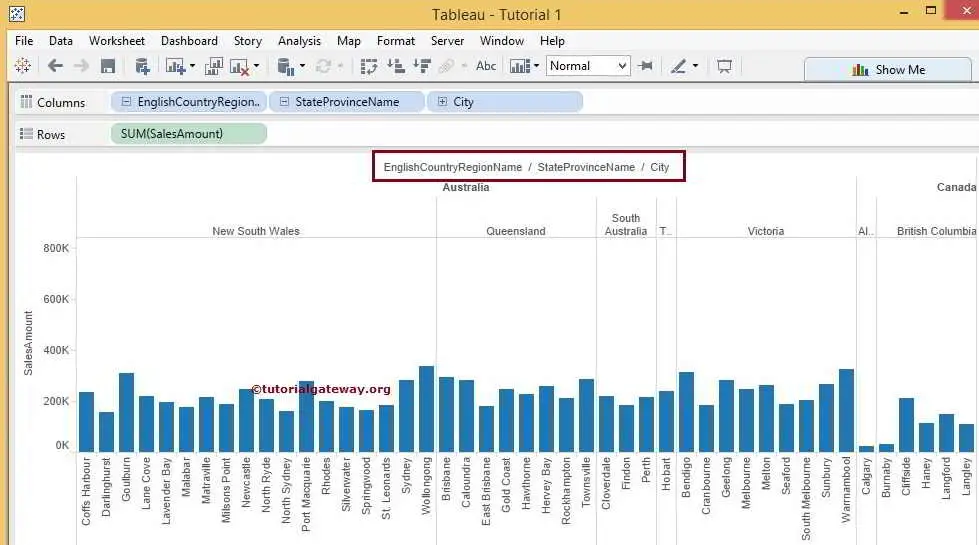
We can further drill down the report by expanding the City. When you expand the City name, the report will display the Sum of the Sales Amount for every postal code.
The second approach to Create Hierarchies in Tableau
Drag one member onto the other will automatically create hierarchies in Tableau. In this example, we drag a state member onto the Country name as shown below
when you drag a state member onto the Country name, a new pop-up window will be opened to rename the name as shown below. For, we are renaming it as Country

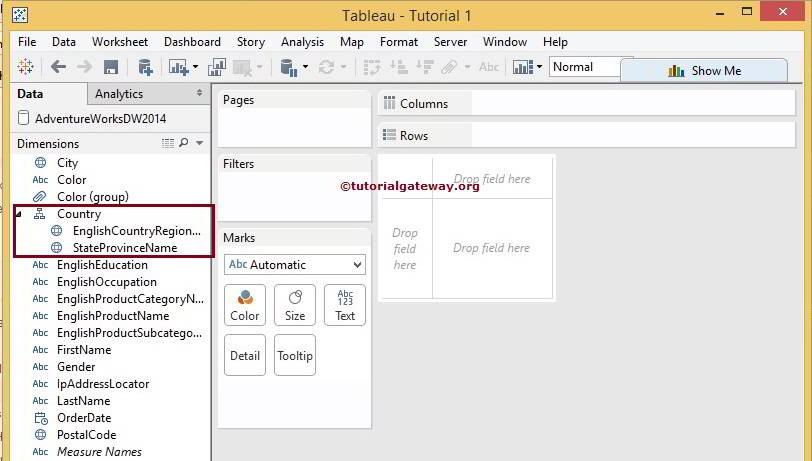
Once you click the OK button, you can see the newly created name with the Country Name and State Province Name members. Similarly, we can add many more.
NOTE: Adding more members while dropping will show a horizontal line representing the member position. Please be careful while dropping the members.
Remove members from Hierarchies in Tableau
Removing the Hierarchy member is very easy. To do so, select and Right Click on the member you want to detach or remove from it. Please select the Tableau hierarchy option and then choose the Remove option from the context menu.
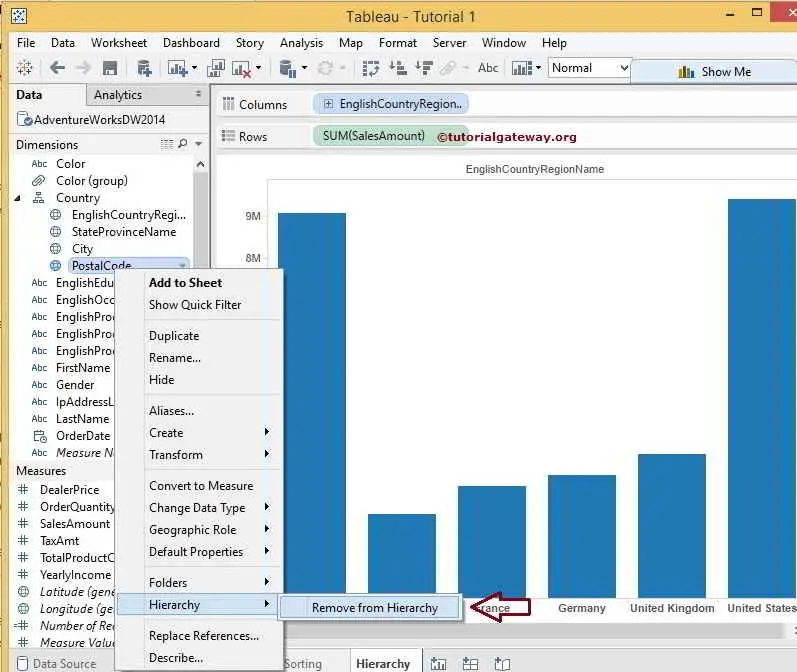
Once you choose the option, Postal Code members will detach or remove them from the hierarchy.
To remove members from the Tableau hierarchies, we can drag members from it to the dimension pane.
Comments are closed.