The Union Transformation in Informatica combines data from multiple sources (excel files, flat files, etc.) or multiple SQL tables and produces one output to store in the target table. It is an active transformation, and it is similar to the SQL Union All.
The Union Transformation in Informatica is very useful in real-time. For example, if the company has 100 stores and each store maintains its own sales data. End of the day, they all belong to one company, and your job is to find out the one month or year sale for any single product. It is not practical to visit 100 stores, cross-check 100 excel or flat files, and calculate the sales.
In this situation, you must use Union Transformation in Informatica to combine all the 100 excel files from 100 stores and store them in the data warehouse and then calculate the product sales from the database.
Union Transformation in Informatica Guidelines
Please remember the following guidelines while you are working with the Informatica Union Transformation :
- The Union Transformation allows multiple input groups but produce a single output.
- It doesn’t remove duplicate records from the input source.
- It doesn’t generate transactions.
- You can not use Sequence Generator Transformation to generate sequences
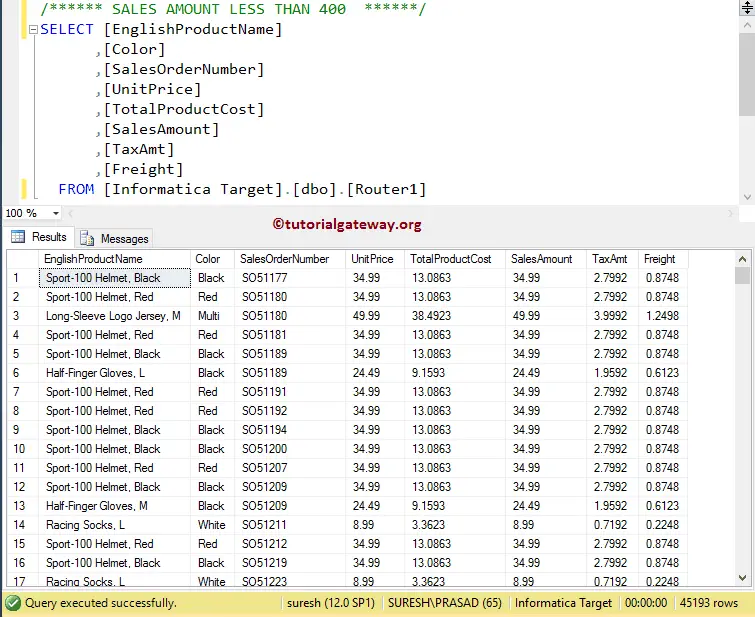
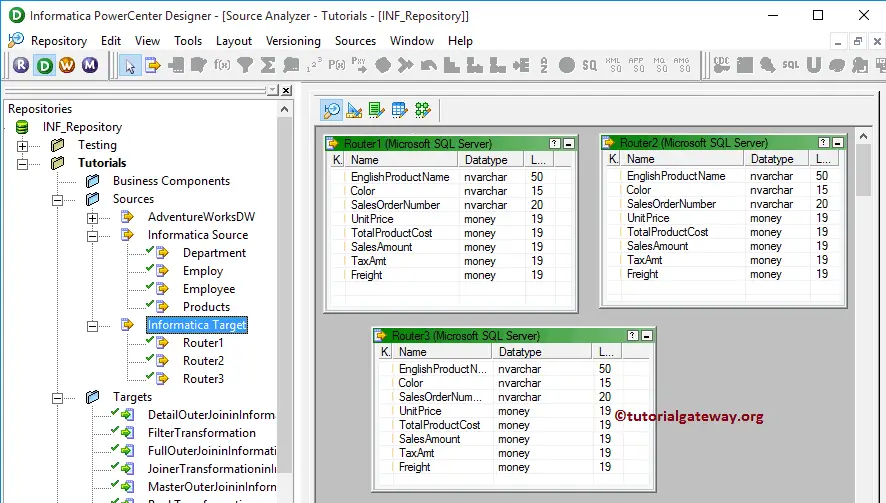
For this Informatica Union Transformation example, we will use the SQL tables we created using the Router Transformation. The following screenshot will show you the data inside the [Router 1] table.
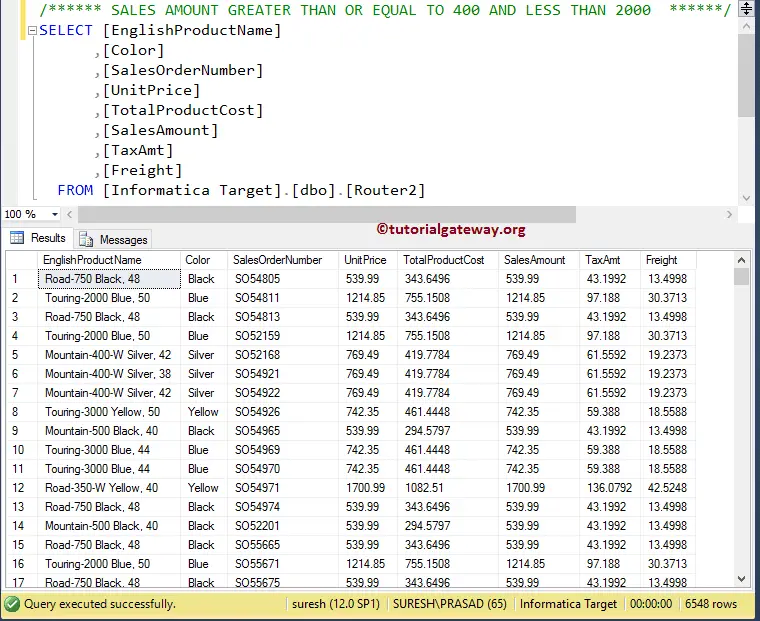
The data inside the [Router 2] table.
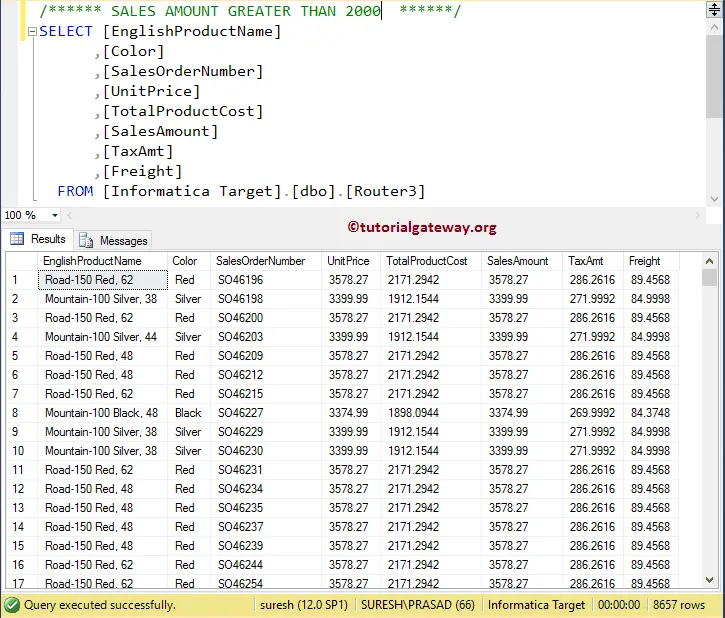
The data inside the [Router 3] table.
Here, Our task is to combine these three tables using the Informatica Union Transformation and save it in the destination table.
Configure Union Transformation in Informatica
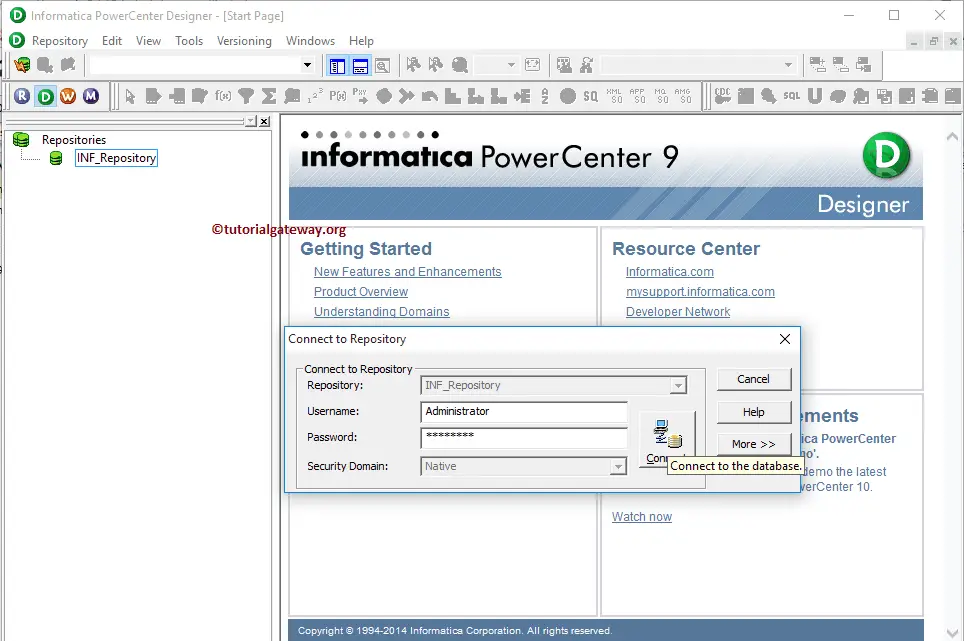
Before we start configuring the union transformation in Informatica, First connect to the Informatica repository service. In order to connect with the Repository service, we have to provide the Admin Console credentials. So, Please provide the appropriate Username and Password and click on Connect button as shown below.
TIP: Here, you must provide the Admin Username and password specified while installing the Server.
Create Union Transformation Source Definition
Once you have connected successfully, Please navigate to Source Analyzer and define your Sources. In this Informatica union transformation example, we are using [Router 1], [Router 2], and [Router 3] tables from the SQL Server database as our source definitions. Please refer to Database Source to understand the steps involved in creating a source definition
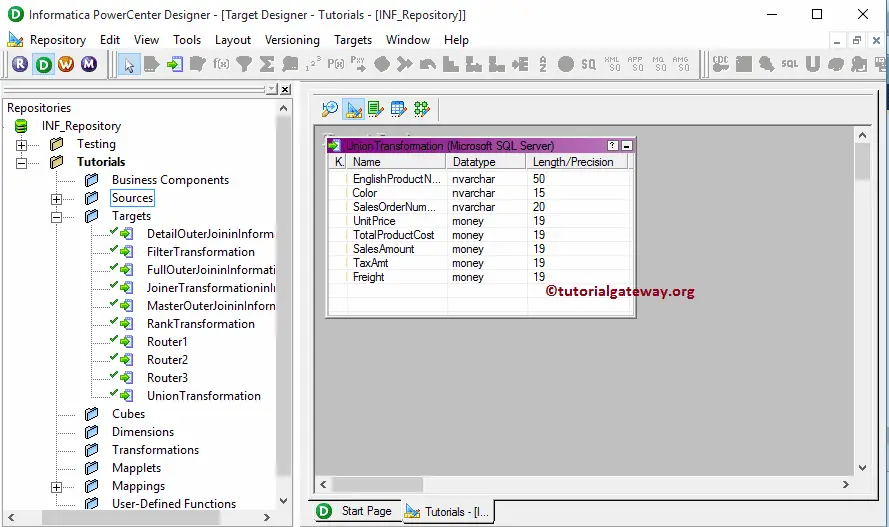
Create Union Transformation Target Definition
Please navigate to Target Designer and define the Target. In this example, we use the already created SQL table (Union Transformation) as our target definitions. Please refer Create Target table using Source Definition to understand the steps involved in creating a target definition
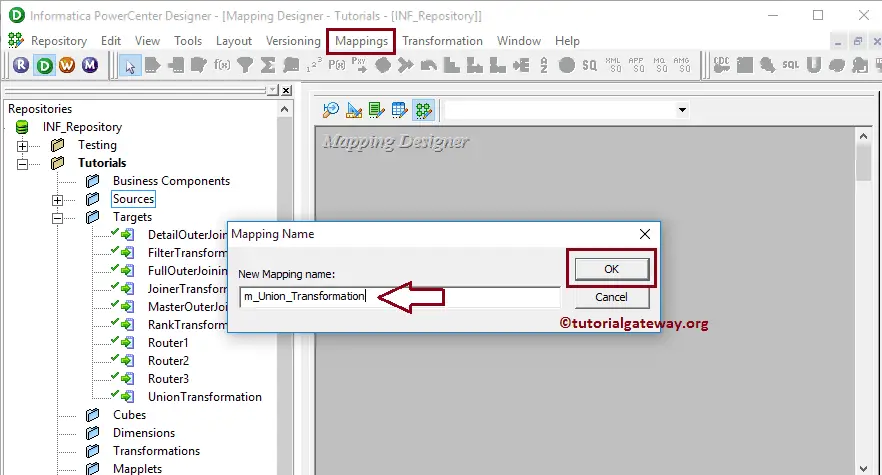
Create Union Transformation in Informatica Mapping
In order to create a new mapping, Please navigate to the Mappings menu in Menu Bar and select the Create.. option. This will open the Mapping Name window as shown below. Here, you must write a unique name for this mapping (m_Union_Transformation) and click the OK button.
Next, Drag and drop the [Router 1], [Router 2], and [Router 3] source definitions from the Sources folder to the mapping designer. Once you drag the source, the PowerCenter designer will automatically create the default transformation called source qualifier for them.
Create Union Transformation in Informatica
To create Union transformation in Informatica, Please navigate to Transformation menu in Menu Bar and select the Create.. option as we shown below.
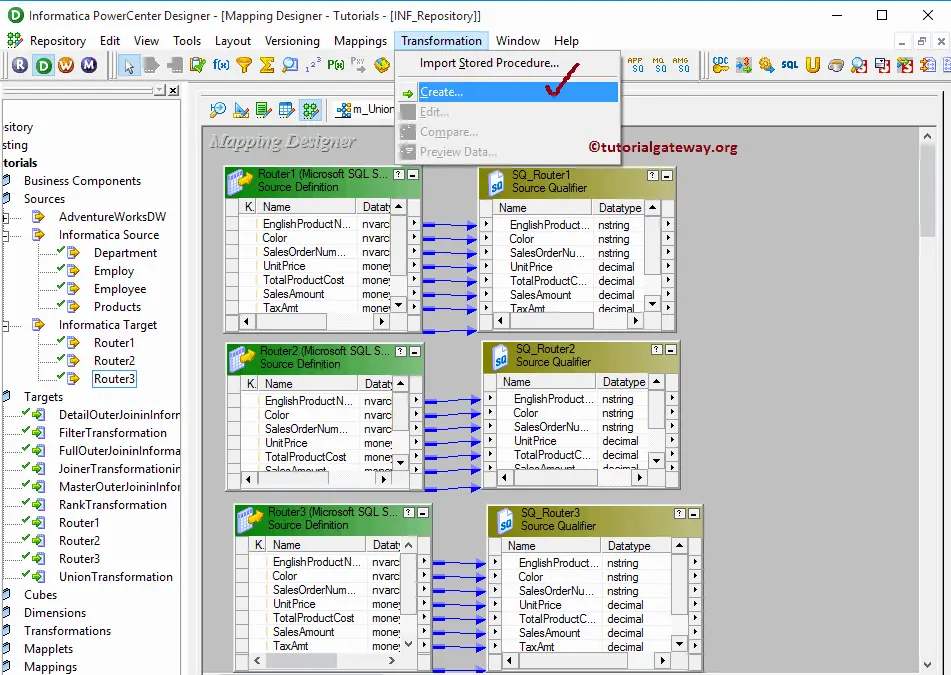
Once you click on the Create.. option, Create Transformation window will be opened as shown below. Please select the Informatica Union Transformation from a drop-down list and specify the unique name (UN_Products) for this and click on Create button

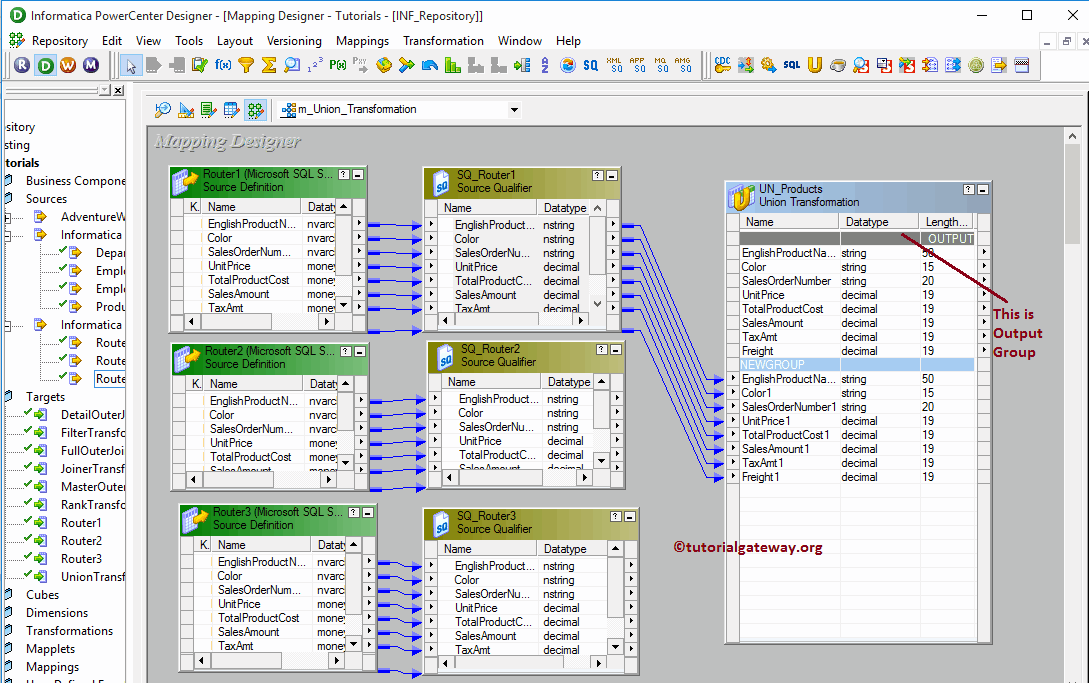
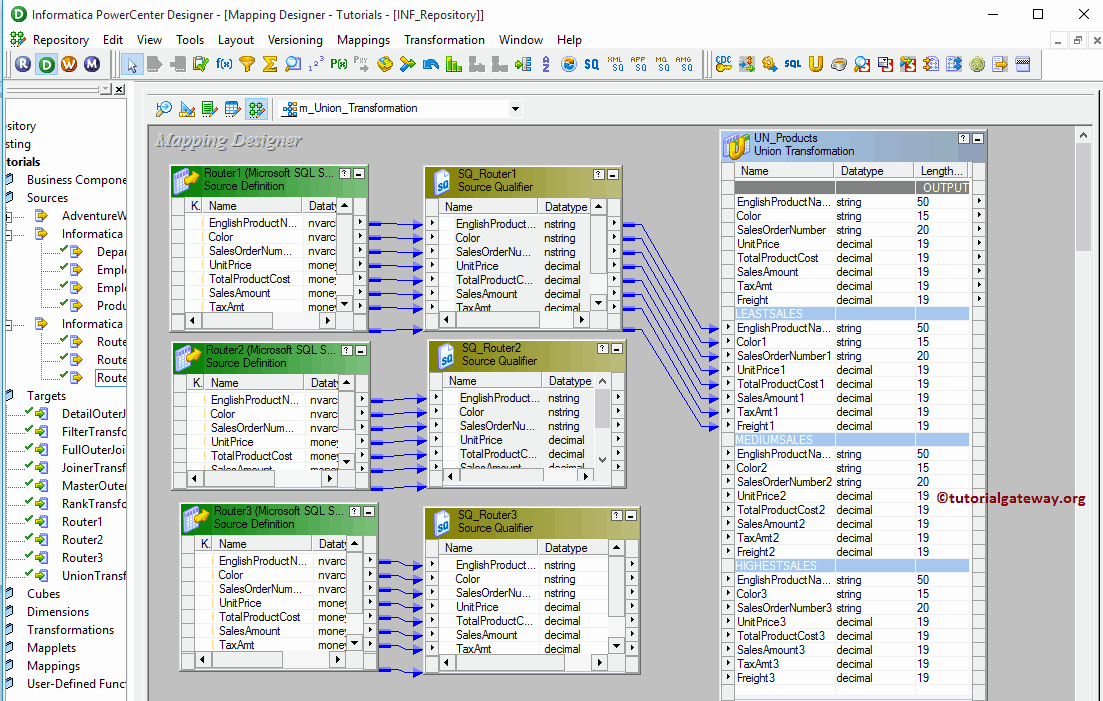
Clicking the Create button will add the union transformation to the mapping designer. In order to perform union all, Union Transformation requires some data so, please connect the Router 1 Source qualifier with the transformation by dragging the required fields.
Once you drag the fields, the union transformation will create OUTPUT Group and New Group.
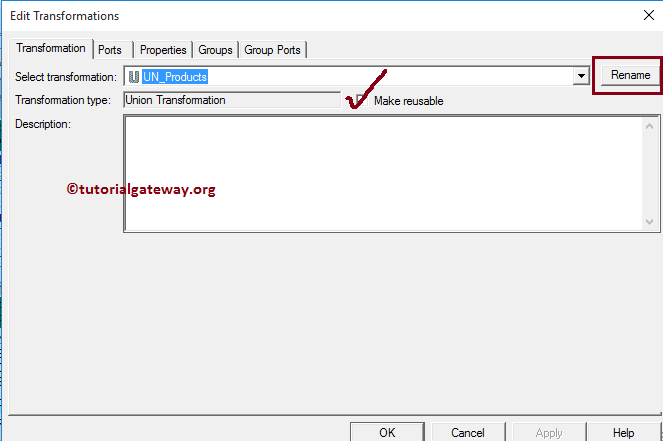
In order to merge more than one table, we need multiple groups like NEWGROUP. So, Double click on the Informatica Union transformation to create new groups. From the below screenshot you can see the list of available properties in the Transformation tab:
- Select Transformation: By default, it will select the transformation you clicked on.
- Rename: This button will help you to rename the union transformation to a more meaningful name.
- Make Reusable: If you check mark this option then, this transformation will become reusable transformation.
- Description: Please provide a valid description of this transformation.
Within the Groups tab, we have to define the group names. Please click on the New Group button (beside the close button) to add a new group and change the names as per your requirements.
By clicking the close button you can delete the unwanted groups. From the below screenshot you can observe that we created three groups Least Sales, Medium Sales and Highest Sales.
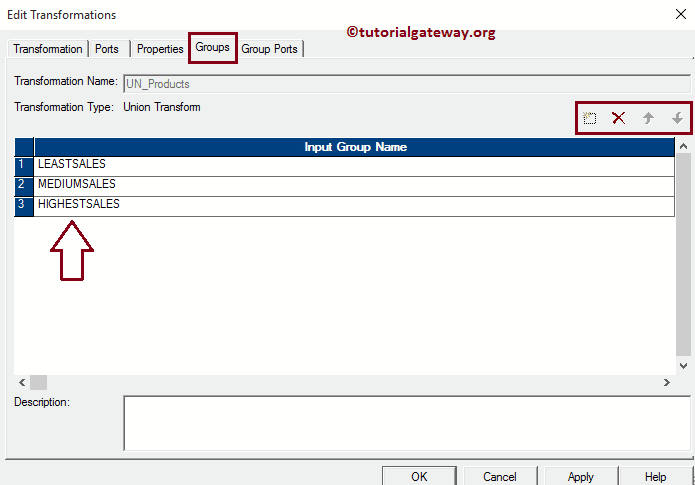
Once you finish creating the Groups, Click OK to close the transformation window.
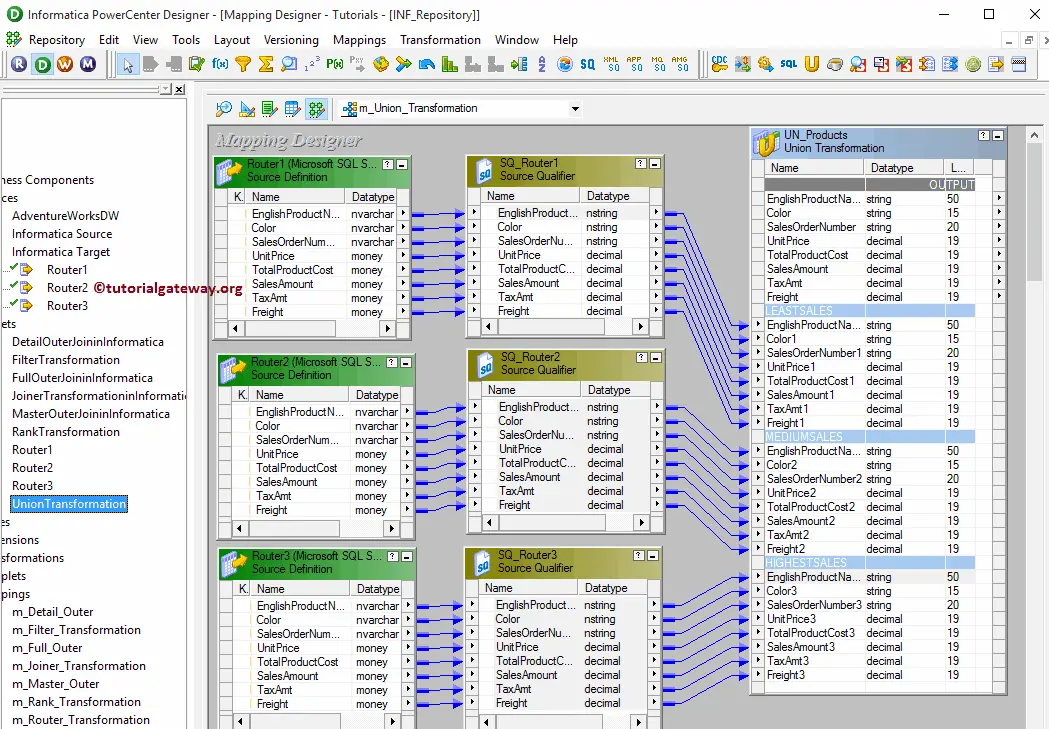
Next, w have to assign the Source Qualifiers to the new groups that we created earlier. so, please connect the Router 2 Source qualifier with the Medium Sales and Router 3 Source qualifier with the Highest Sales
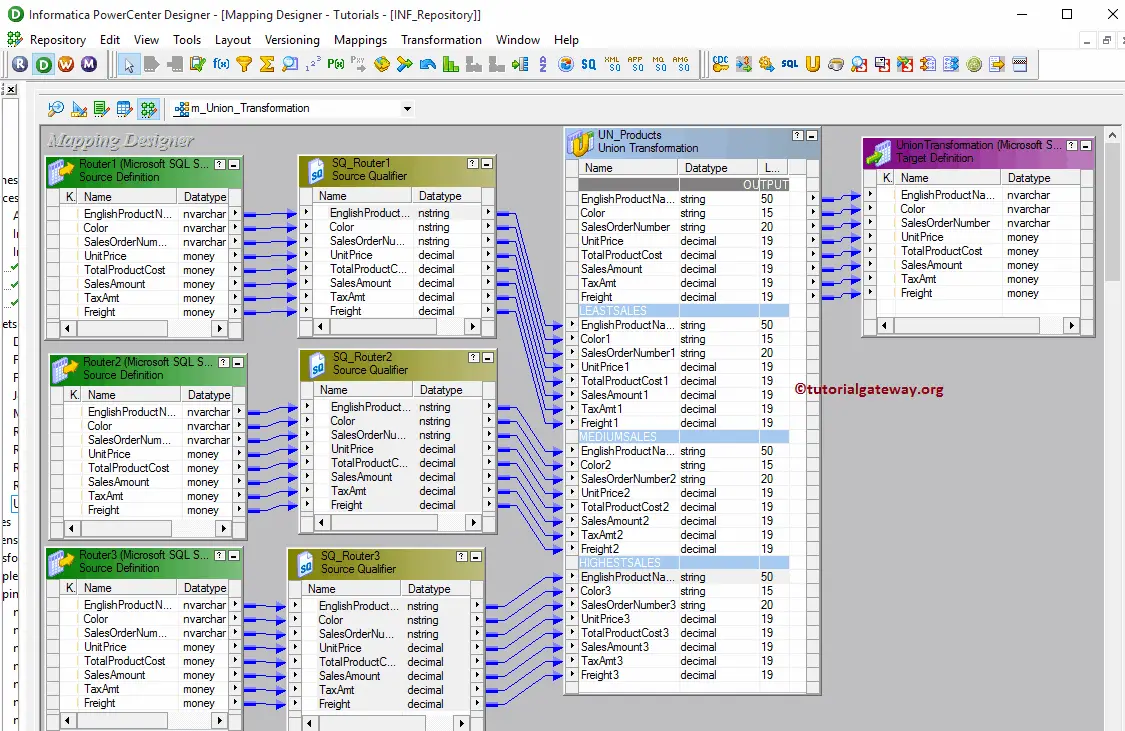
Next, Drag and drop the target definition (Union Transformation) from Targets folder to the mapping designer and connect the Transformation with the target definition. Please use the Autolink.. option to connect them.
Before we close the Mapping, Let us validate the mapping by going to the Mapping Menu bar and selecting the Validate option.
Create Union Transformation in Informatica Workflow
Once we finish creating the Mapping, we have to create the workflow for it. PowerCenter Workflow manager provides two approaches to creating a workflow.
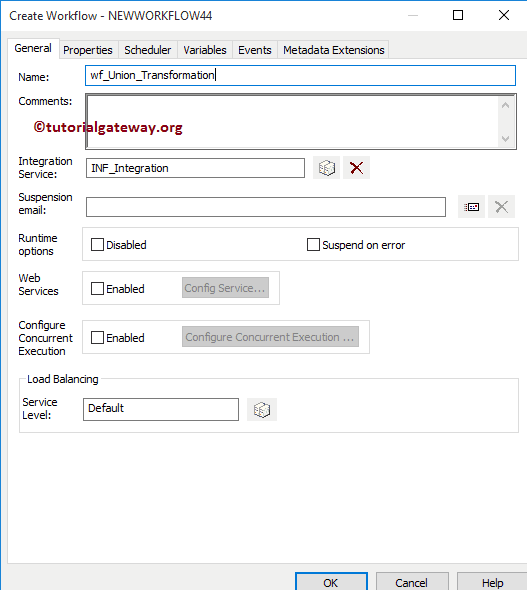
In this Informatica Union Transformation example, we will create the Workflow manually. In order to create a new Workflow, Please navigate to Workflows Menu and select the Create option. This will open Create Workflow window. Please provide the unique name (wf_Union_Transformation) and leave the default settings.
Once we created the workflow, our next step is to create a session task for our mapping.
Create a Union Transformation Session
There are two types of sessions:
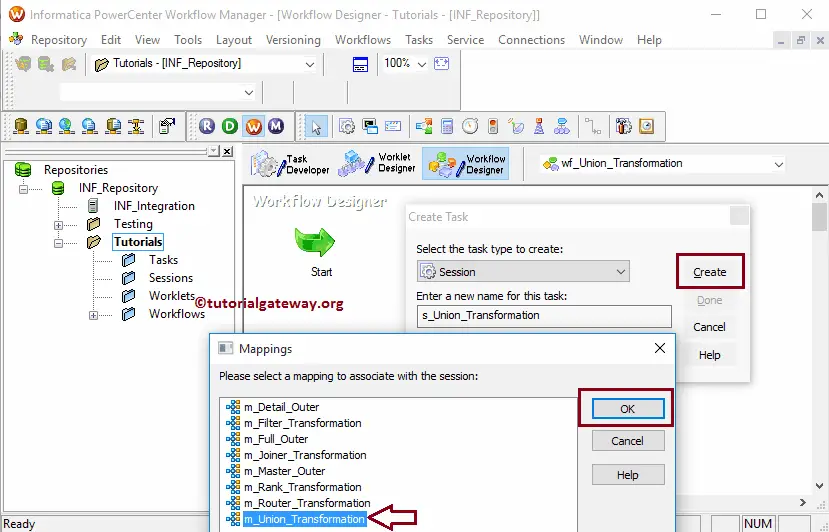
For this Informatica Union Transformation example, we are going to create Non-reusable Session. Please navigate to Tasks Menu and select the Create option to open the Create Task window. Here you have to select the Session as Task type (default) and enter a unique name (S_Union_Transformation) for the session.
Once you click on the Create button, a new window called Mappings opened. Here you have to select the mapping you want to associate with this session. For example, from the below screenshot, you can observe that we are selecting the mapping (m_Union_Transformation) that we created earlier (in Step 3).
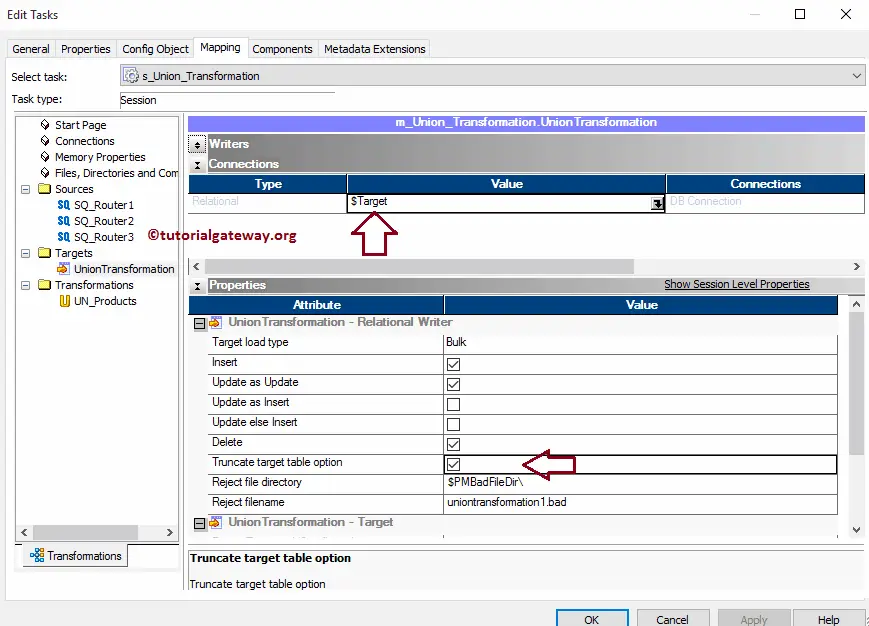
Double click on the Session Task to configure it. Although we have to configure Sources, targets, and some common properties, we are explaining only a few properties. We strictly recommend visiting the Session article to understand the remaining properties.
From the below screenshot, you can observe that we assigned the $target variable to Connection Value. We check marked the Truncate target table option to truncate the existing data from the destination table.
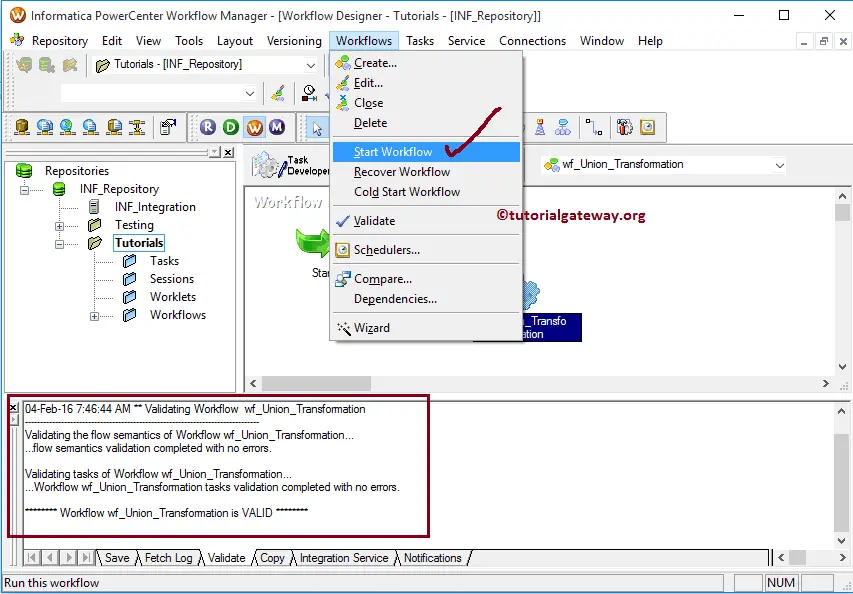
From the screenshot below, you can observe that the Informatica Union Transformation workflow is valid. Let us start the Workflow by navigating to the workflow menu and selecting the Start Workflow option.
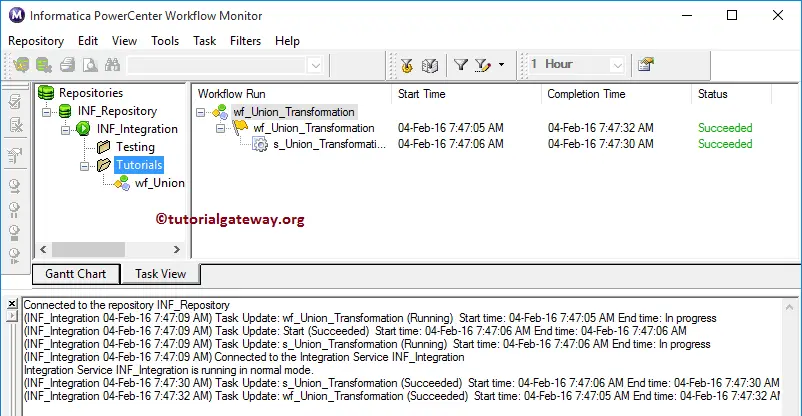
Once you select the Start Workflow option, the PowerCenter Workflow monitor will open to monitor the workflow. From the screenshot below, you can observe that our workflow executes without errors.
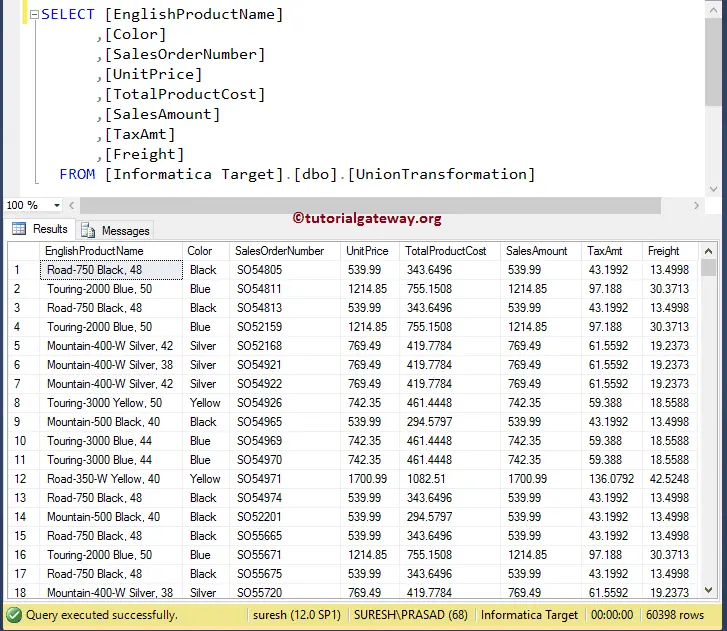
Let us open the SQL Server Management Studio to check whether or not we successfully combined the records present in Router 1, Router 2, and Router 3 tables. Please refer to SQL Union All article.