An Informatica Workflow is a set of instructions that tells the Informatica integration services how to run one or more task which is connected by links. Every workflow will start with a Start task (by default). So, when you start the workflow, it will begin executing from the Start Task and continue until the tasks finish.
The Informatica PowerCenter Workflow manager provides two approaches to creating it.
- Creating Workflow manually
- Creating Workflow using Wizard
This article will show you how to create an Informatica Workflow manually with an example. To create a workflow, we need the task (Session or Email). For this example, we will use the already created session task.
Create Informatica Workflow
Before we start the Informatica Workflow demo, First connect to the repository service. To connect with the Repository service, we have to provide Admin Console credentials. So, Please provide the appropriate Username and Password and click on the Connect button.
TIP: Please refer Session article to understand the creation of the session task and the Reusable Session article to understand the creation of the reusable Informatica session task
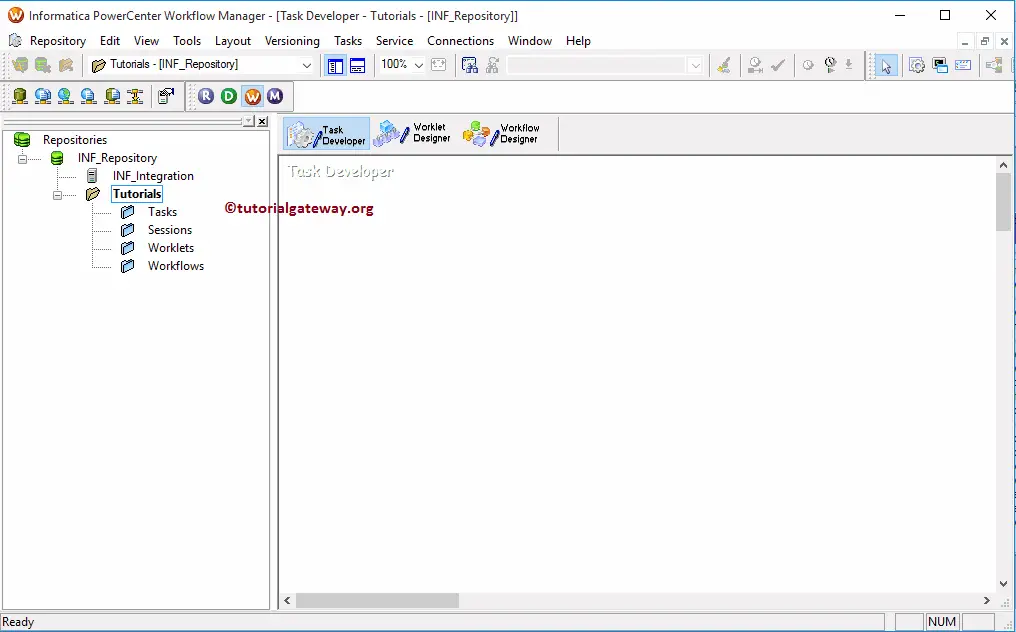
From the below screenshot, you can observe that we are in the Task Developer.
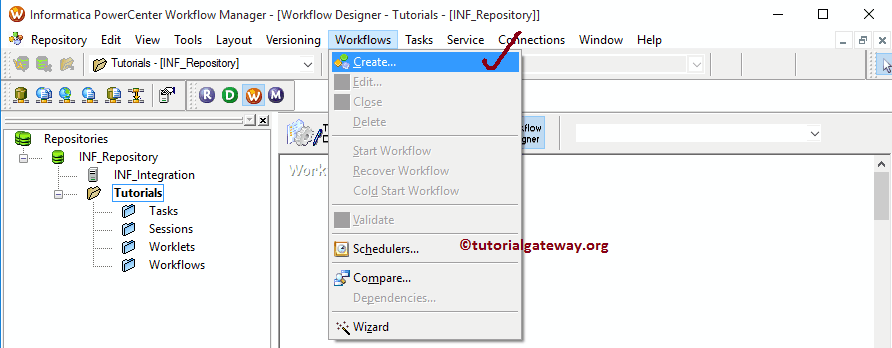
To create a new Informatica Workflow, first, we have to go to the Workflow Designer tab. Next, Please navigate to Workflows Menu and select the Create option.
TIP: Workflows Menu in the Menu bar will be available only when you are in the Workflow Designer section. Otherwise, it won’t show up.
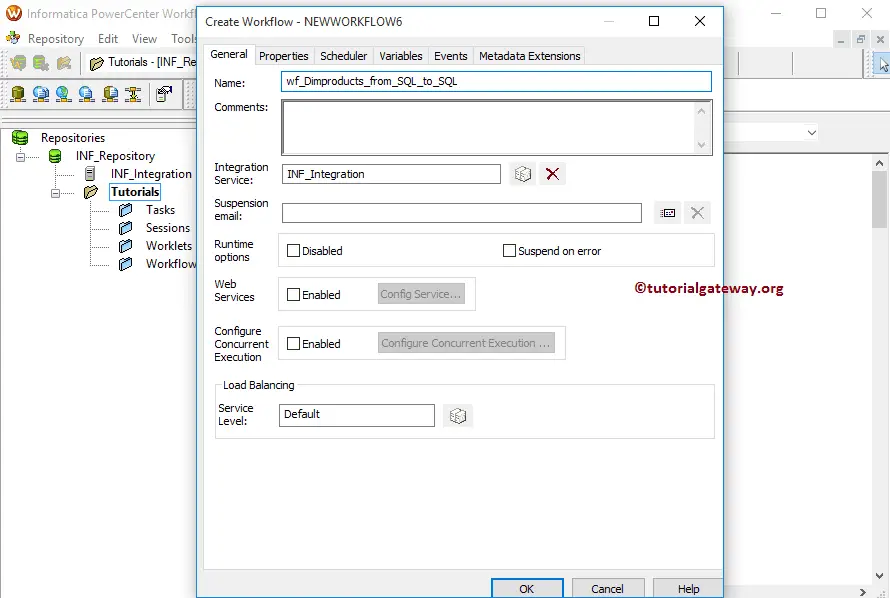
Once you select the Create option, a new window called Create Workflow will open in Informatica. Please provide the unique name and comments, and You can leave the default settings.
NOTE: Here, you can change or delete the existing integration service also
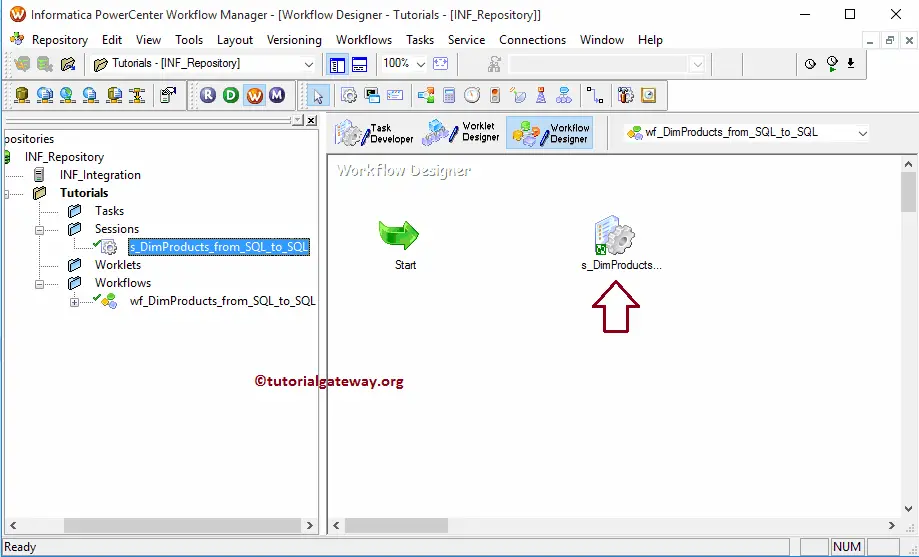
Once you have created the Informatica workflow, you can create a Non-reusable session. Or you can use the already created reusable session. To demonstrate both, first, we are dragging the already created Reusable session s_DimProducts. Please refer to the Reusable Session article to understand the steps involved in creating this.
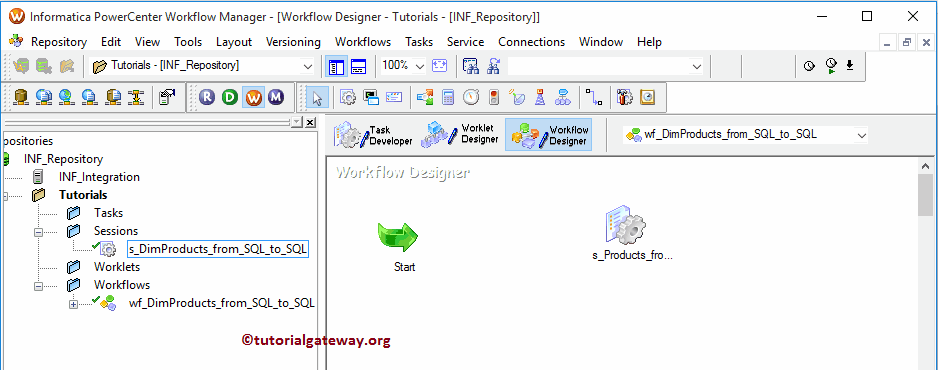
Next, we removed the Reusable session and created a New session task. Please refer to the Session to understand the series of steps involved in creating the new session.
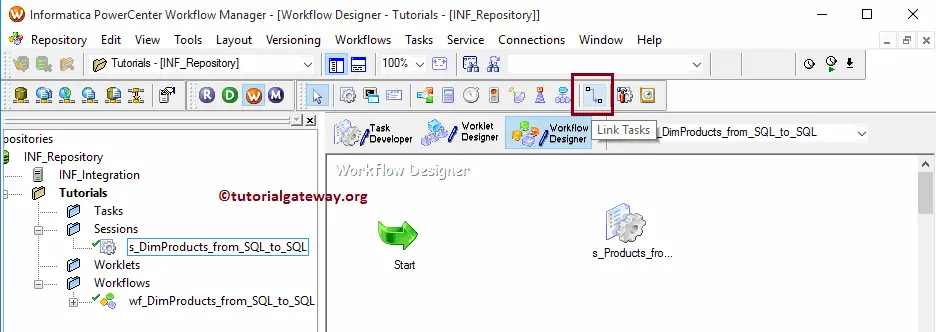
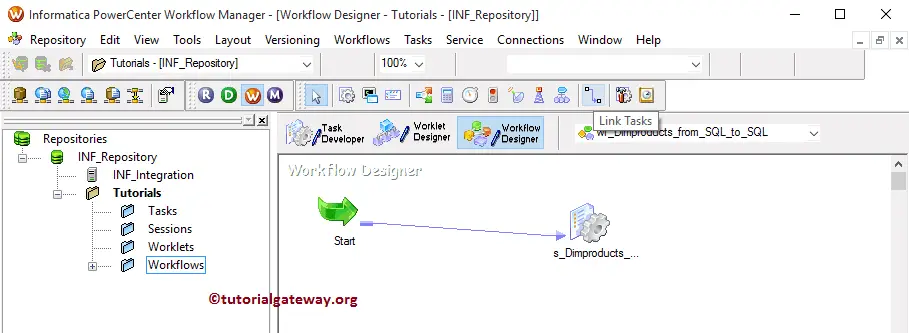
Once you have finished creating the Session task, we have linked both the Start Task and Session Task. There are two ways to link them: First, you can select the Link Tasks button from the toolbar, as shown below.
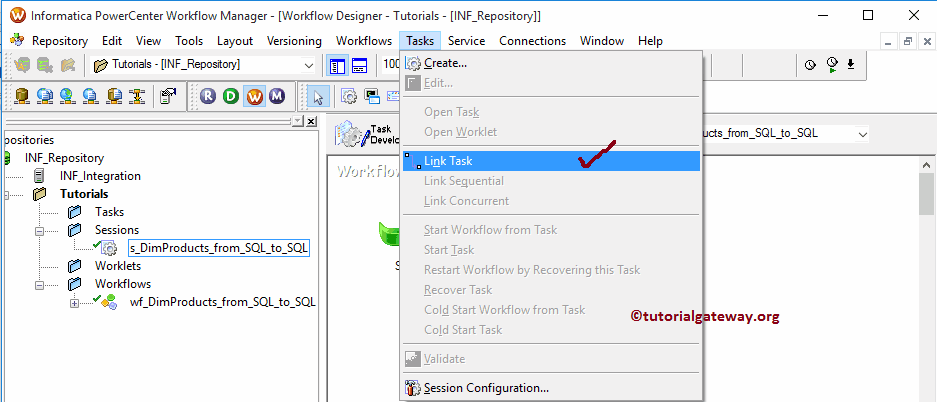
In the second approach, please go to the Task Menu bar and select the Link Task option
From the below screenshot, you can see the connection/link between the Start Task and Session Task.
Once you finish creating the workflow, we have to Validate the task before using it. To do so, Please navigate to Informatica Workflows Menu and select the Validate option.

From the below screenshot, see that Our workflow is a valid one. Now, let us start the Workflow by navigating to the menu and selecting the Start Workflow option.

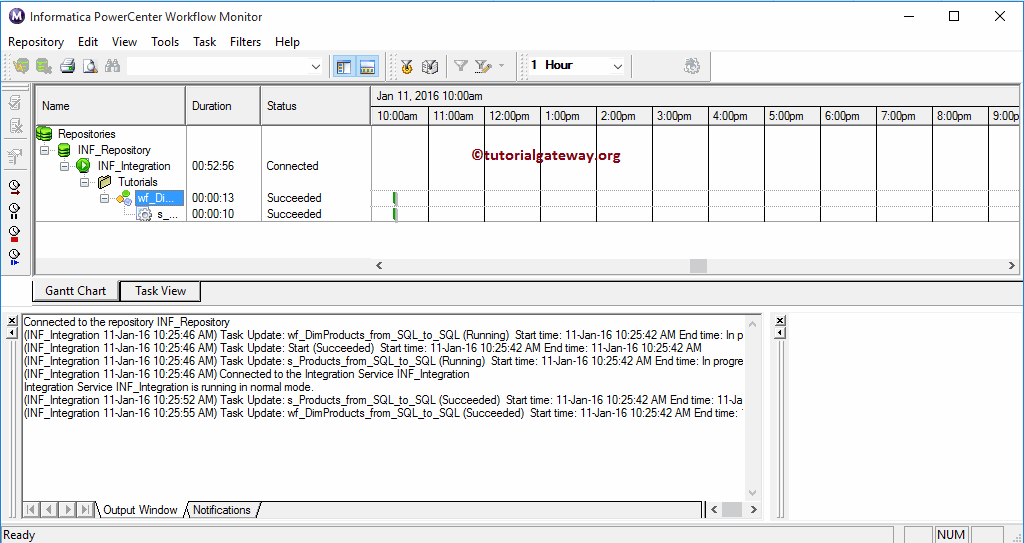
Once you select the Start Workflow option, the PowerCenter Workflow monitor will be opened to monitor it. From the below screenshot, you can observe that our Informatica workflow is executed without any errors.
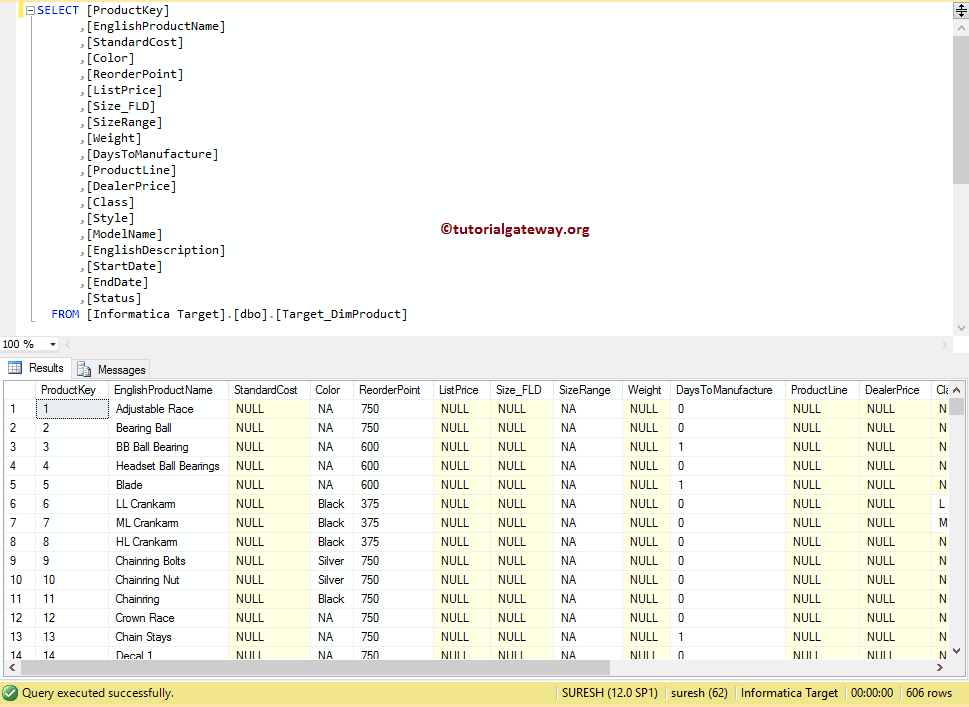
Let us open the SQL Server Management Studio to check whether we successfully transferred the data from Adventure Works DW to the target database.