
In this article, we will show you the steps involved in deploying reports in SSRS using BIDS. Or, how to Deploy SSRS Projects in SQL Server Reporting Services Data Tools to Report Manager with an example.
The below screenshot shows the Shared Datasets, Shared Data Sources, and SSRS Report present in this project.
Deploying Reports in SSRS BIDS
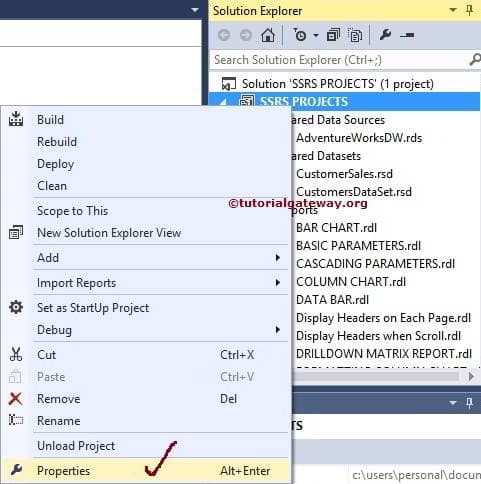
Before we start deploying reports in SSRS Project, we have to configure the Reporting Server properties. So, Right-click on the project name (here, SSRS Projects) and select Properties as shown below.
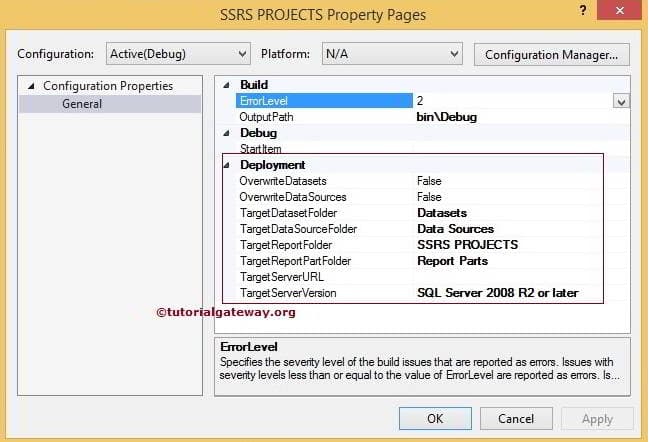
Once you click on the Properties option, a new window called Projects Property Page will open to configure the settings. The following are some of the deploying properties in the SSRS Report Deployment section:
- TargetDatasetFolder: Please specify the folder name where you want to deploy the Shared Datasets present in this project. By Default, Datasets is the name, but you can change it as per your requirement.
- TargetDataSourceFolder: Please specify the folder name where you want to deploy the Shared Data Sources present in this project. By Default, Data Sources is the name, but it changes as needed.
- TargetReportFolder: Please specify the folder name where you want to deploy the SSRS Reports we created in this project. By default, the Project name will assign to this. You can alter it as per your requirement.
- TargetReportPartFolder: Please provide the folder name where you want to deploy the Report Parts present in this project (If any). By default, Report parts are the name.
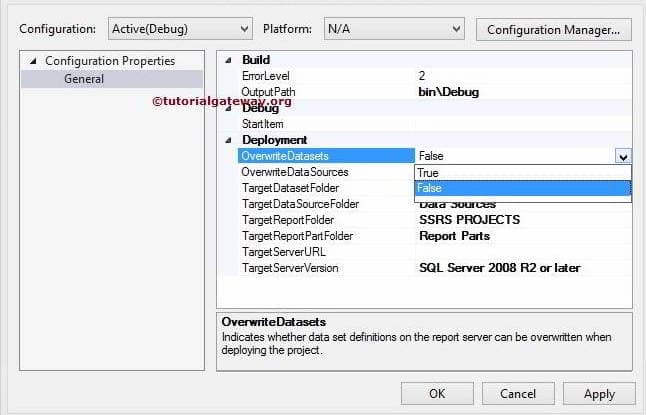
OverwriteDatasets: This property holds two options, TRUE and FALSE. If the current project and Reporting Server have the same Shared Dataset name, then:
- If you set this option to TRUE, the Report Server will overwrite the Destination dataset with the current project Dataset.
- And, If you set this option to FALSE, Report Server will keep the Destination Dataset. This is the default value.
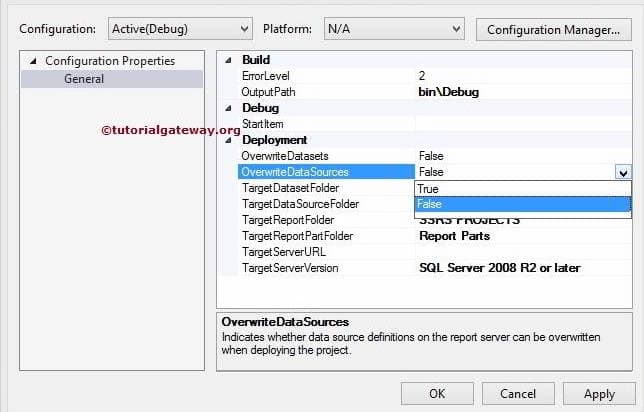
OverwriteDatasources: This SSRS deploying reports property holds two options, TRUE and FALSE. If the current project and Reporting Server have the same Shared Data Source name, then:
- If you set this option to TRUE, Report Server will overwrite the Destination data source with the current project data source.
- And, If you set this option to FALSE (Default value), the Report Server will keep the Destination data source.
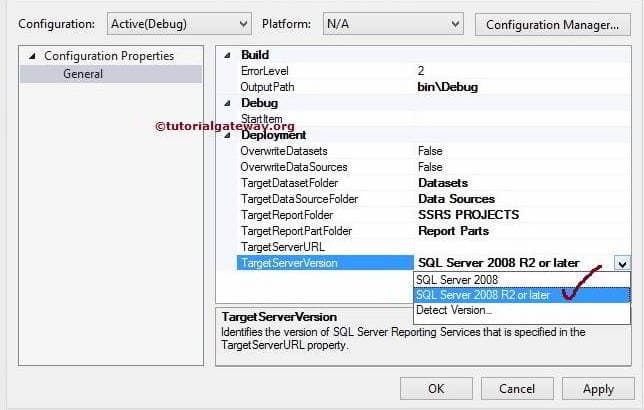
TargetServerVersion: Please specify the Version of the Report Server you are using. This SSRS Deploying Reports property has three options: SQL Server 2008, SQL Server 2008 R2 or later, and Detect Version. We are using SQL Server 2014, so we selected the SQL Server 2008 R2 or later option.
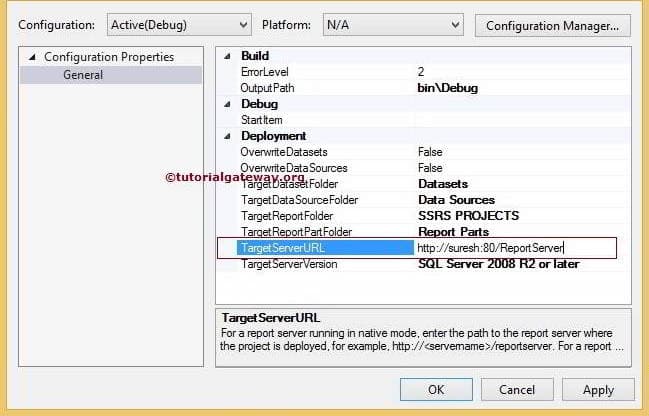
TargetServerURL: This property is used to provide the Target URL where we want to deploy the SSRS project. For instance, If you’re going to deploy to a report server installed in share point, then provide the site URL.
In this SSRS example, we are deploying to the default web server of a report server in the native mode. So, we are placing the URL of that web server.
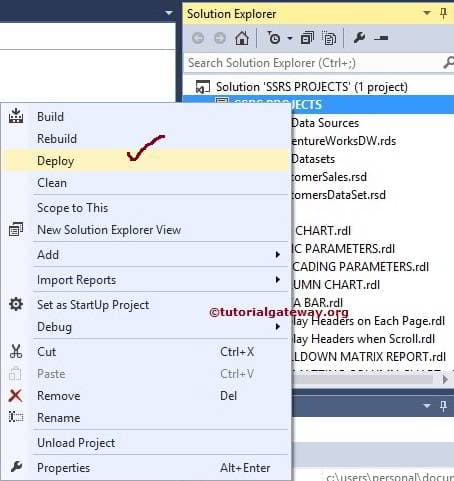
Click on the Apply button to finish modifying the project properties. Next, go to solution explorer and right-click on the project name to open the context menu. From the context menu, please select the Deploy option, as shown in the below screenshot.
TIP: Please Run the BIDS as Administrator, If you don’t have the privileges.
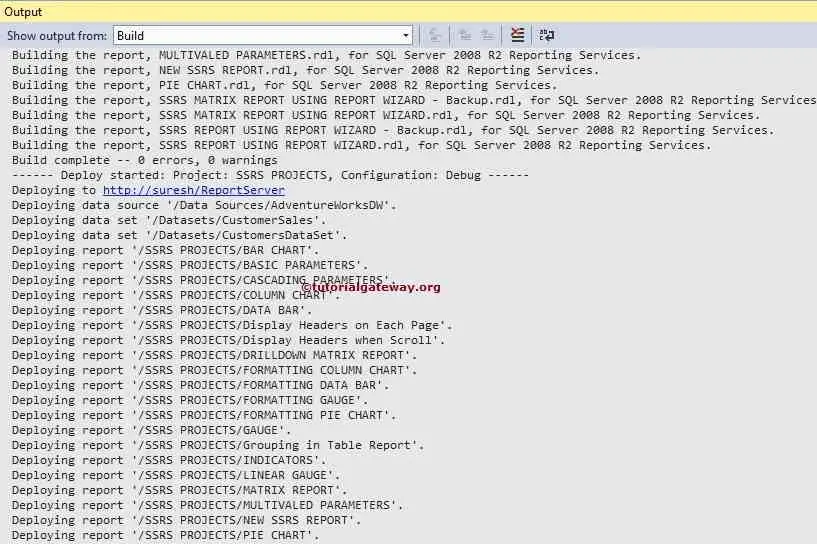
You can see the SSRS output window to check for deployed reports
Next, open the Report Manager in Internet Explorer to view the deployed project.
TIP: Please Run the Browser as Administrator, If you don’t have the privileges.
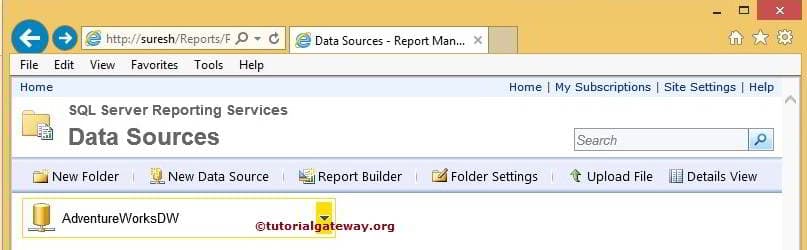
Double click on the Data Source folder to check the shared data sources in the project
Double click on the Dataset folder to check the shared datasets in the project

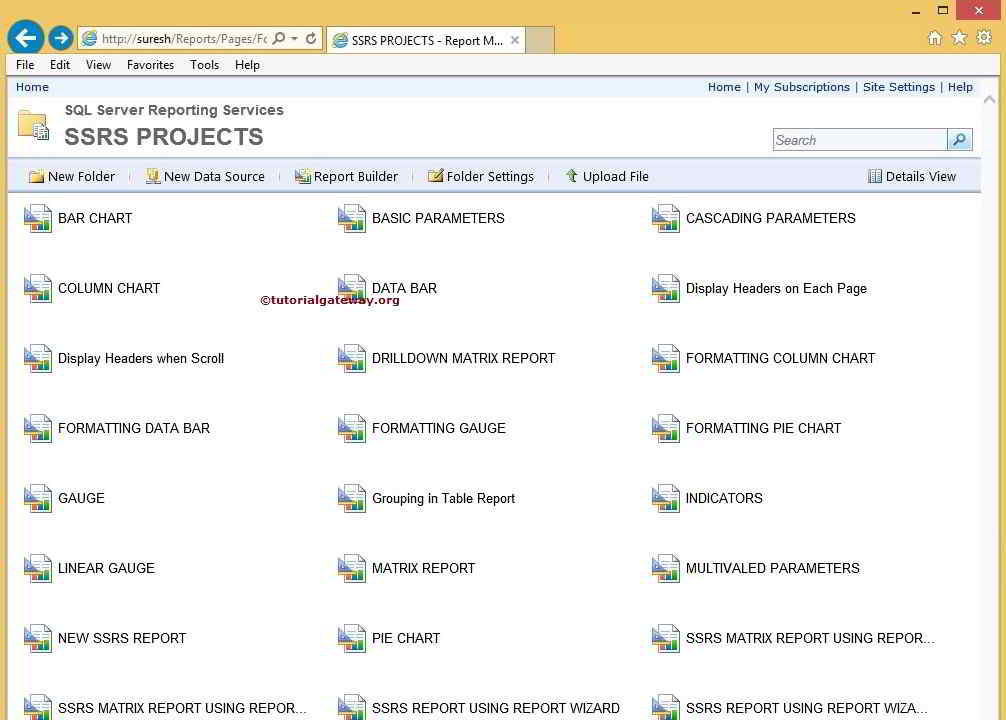
Next, Double click on the SSRS Projects folder to check the deployed SSRS Reports present in the project
Deploy SSRS Reports using SQL Server Report Manager
In SSRS, Deploying the reports is very easy and straightforward, and thanks to Microsoft for giving multiple ways to deploy reports. This section will explain how to Deploy Reports using SSRS Report Manager.
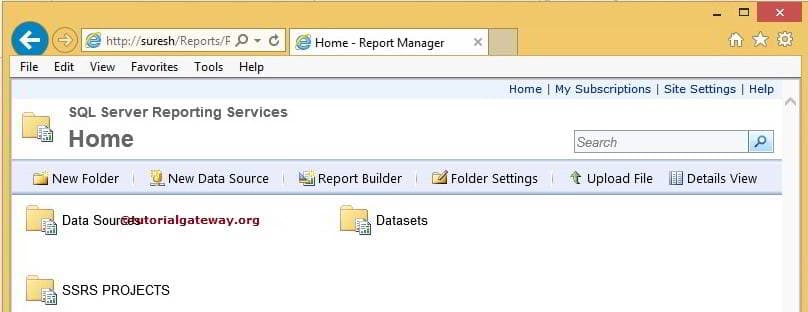
Before deploying reports using SSRS Report Manager, Let’s open Report Manager to see the existing Data Sources, Datasets, and reports. We already explained the steps involved in Deploying the reports using the BIDS in the previous. section.

Deploy Reports using SSRS Report Manager
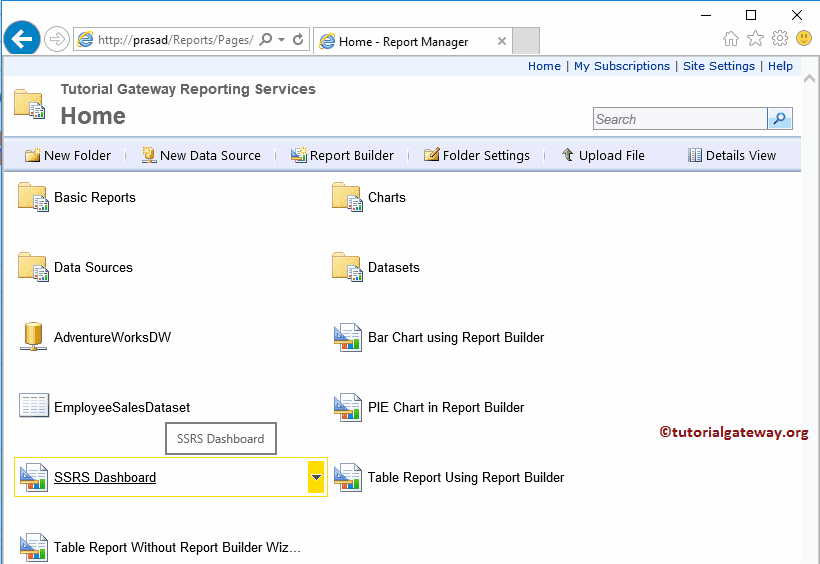
To deploy Reports, the SSRS Report Manager provides an option called Upload File. In this example, we will use this option to deploy the Dashboard report we created in our previous article.
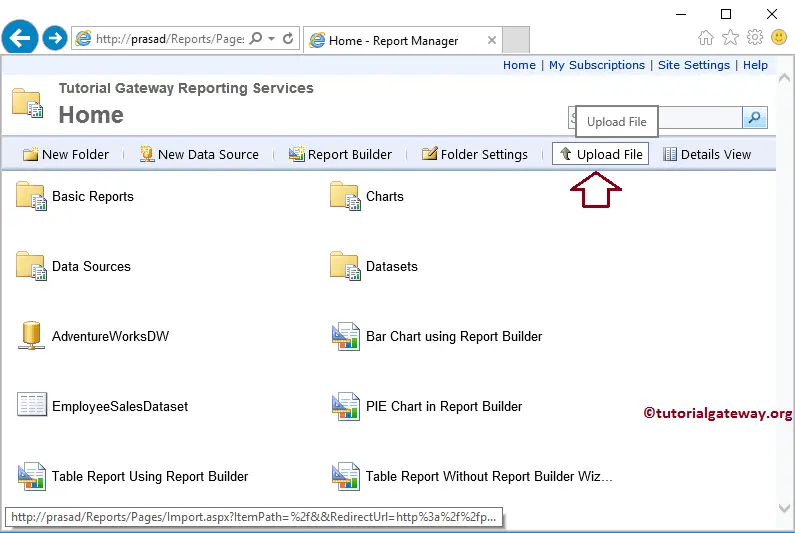
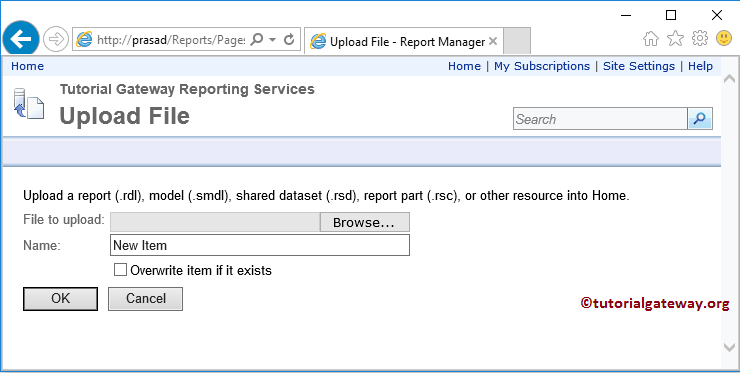
By clicking the Upload File Menu item, it will open the following page. You can use this page to upload .rdl, .smdl, Shared datasets, and Report Parts into the report manager. Or you can say, Use this Report Manager page to deploy SSRS reports.
- Browse: This button will open the File Dialogue box to browse the local file system and select the required file.
- Name: Once you upload a file, this text box will automatically fill with the selected file name, but you can change it as per your requirements.
- Overwrite item if it exists: If there is a file with the same name in the report manager, then selecting this option will overwrite the existing file.
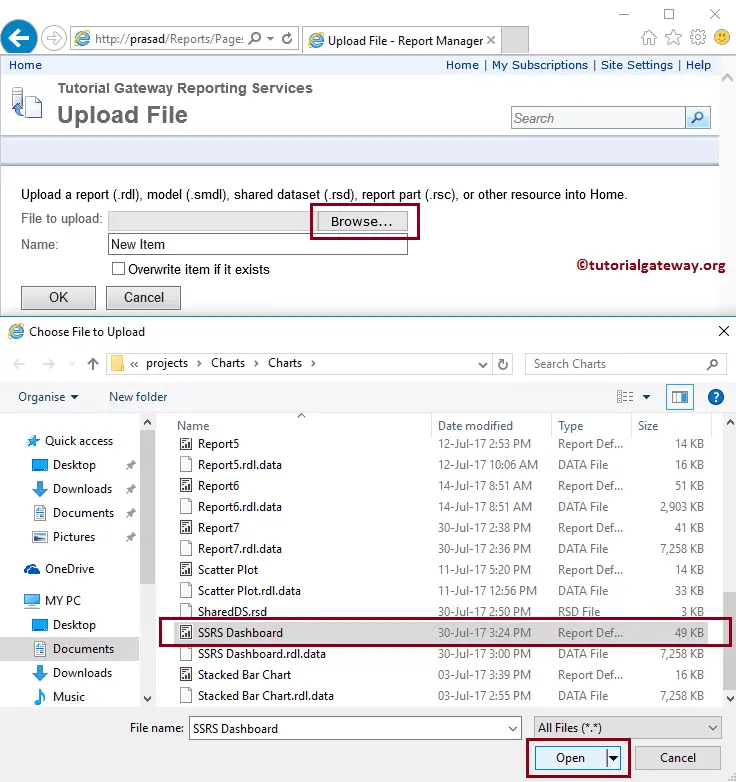
As you can see, we are selecting the Dashboard report present in the Documents -> Projects -> Charts folder.
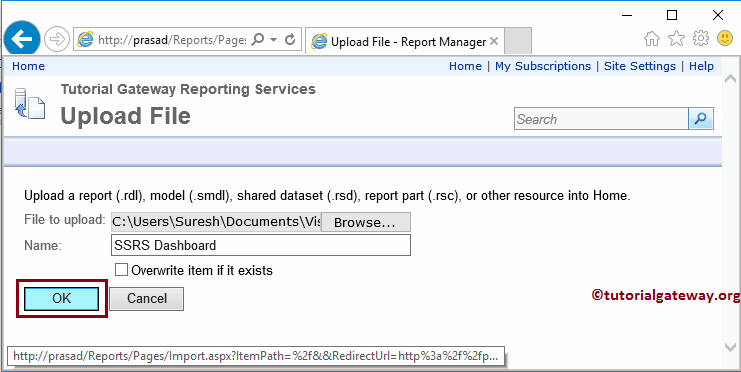
Click OK to upload or deploy the report.
We can now see our deployed report on the SSRS Report Manager Home page. Please click on the deployed report to see the report preview.

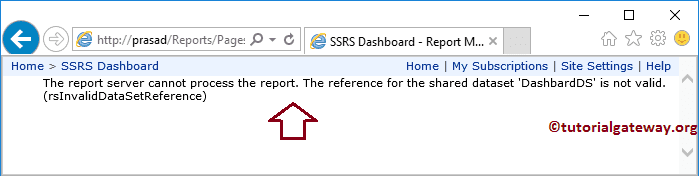
As you can see, it does not display the report; perhaps, it is showing a message – The report Server cannot process it. This reference for the shared dataset ‘DashboardDS’ is not valid.
We are getting this message because the report dataset does not point to any of the Shared Datasets (SharedDS).
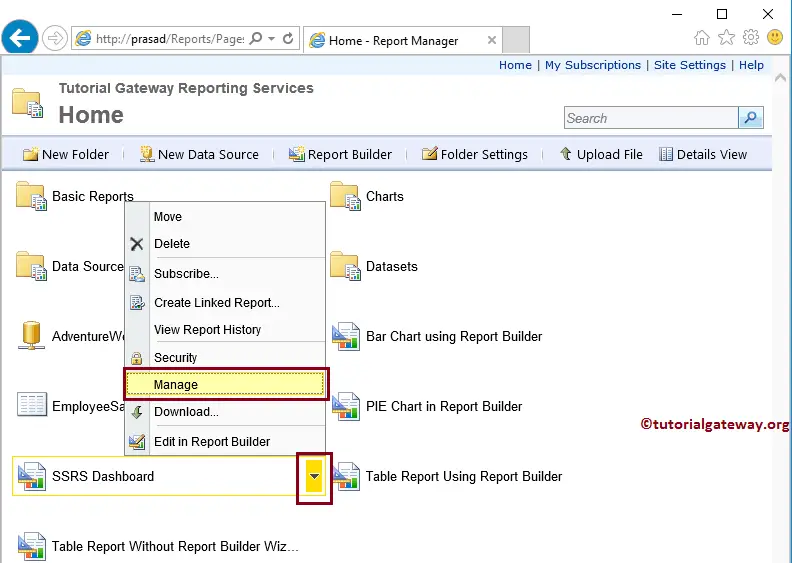
Let us change the dataset properties of the deployed report. To do so, click the down arrow beside the Dashboard report to open the menu items. Please select the Manage option from the menu items.
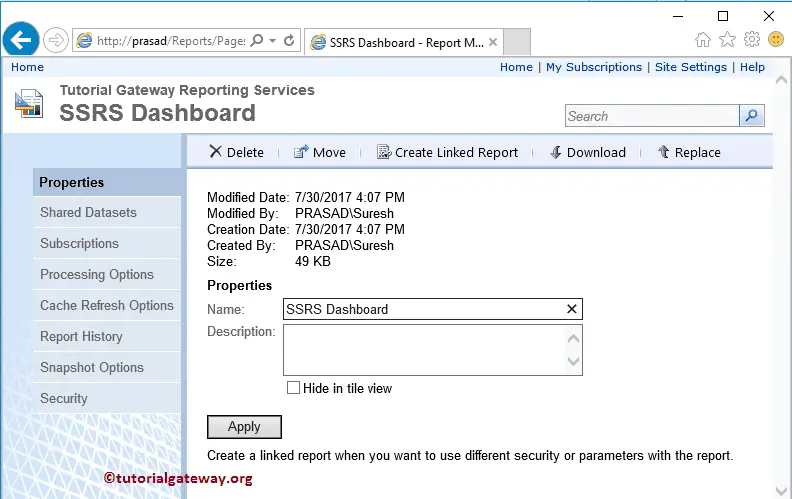
Once you select the Manage option, the Report Manager will navigate you to a new page with the following tabs. Under the properties tab, it will show the Report Created user, created and modified dates, and the Report size.
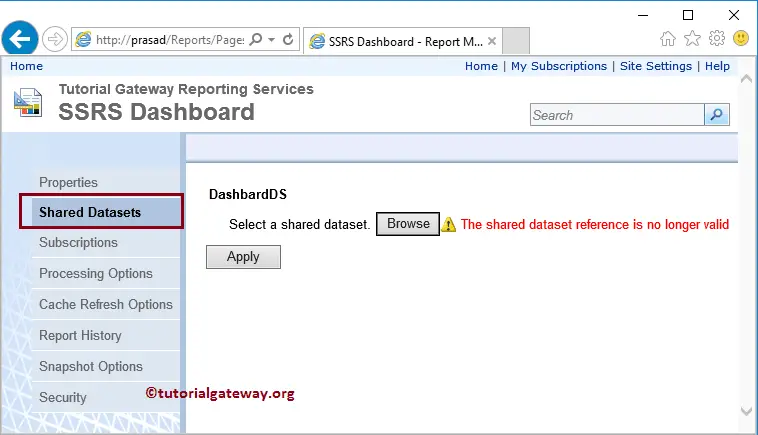
To change the dataset properties, please navigate to the Shared Datasets tab. As you can see from the below screenshot, it is showing an error that we have been explaining till now.
Please click the browse button to select the shared dataset.
Clicking the Browse button will show you the list of available folders and the data sets in the Report Manager.
From the below screenshot, you can see that we are selecting the SharedDS present in the Datasets folder.
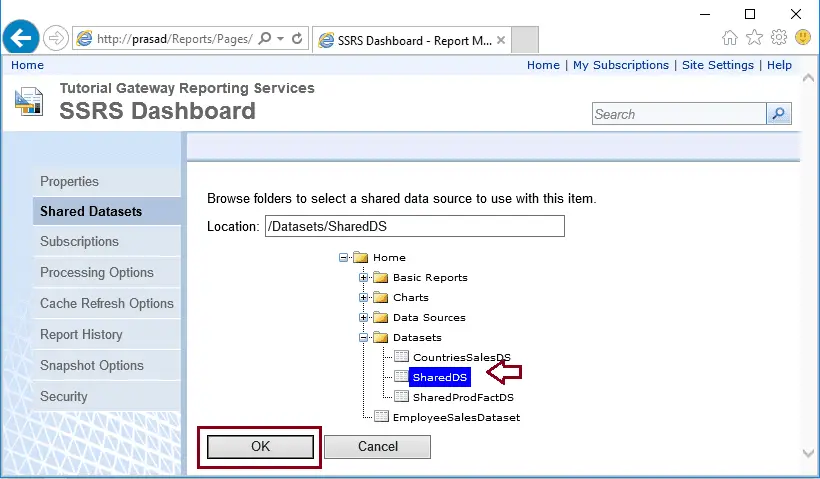
Click the Apply button to apply the change to the report.

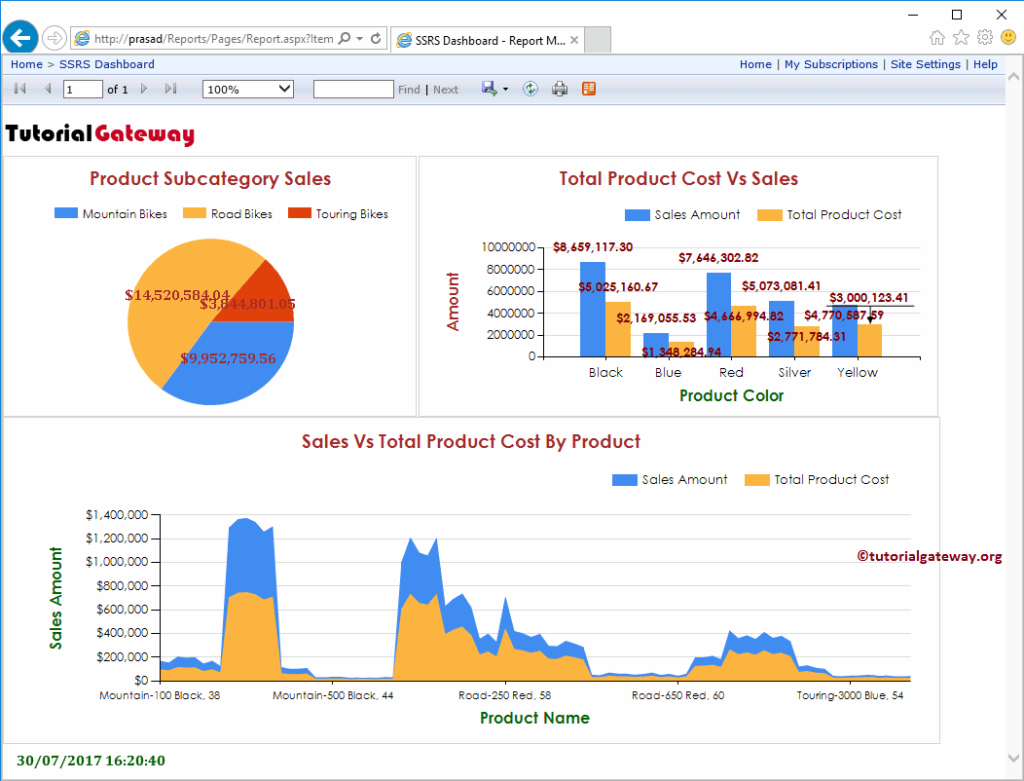
Please click on the report to see the report preview.
Now you can see the preview of the SSRS Deployed report using Report Manager.
Comments are closed.