
In this article, we will show you how to create a target table in Informatica and use it as the destination/target table for the transformed data with an example. For example, If we don’t have a table structure that matches our requirements, then this option can be beneficial.
How to Create Target Table in Informatica
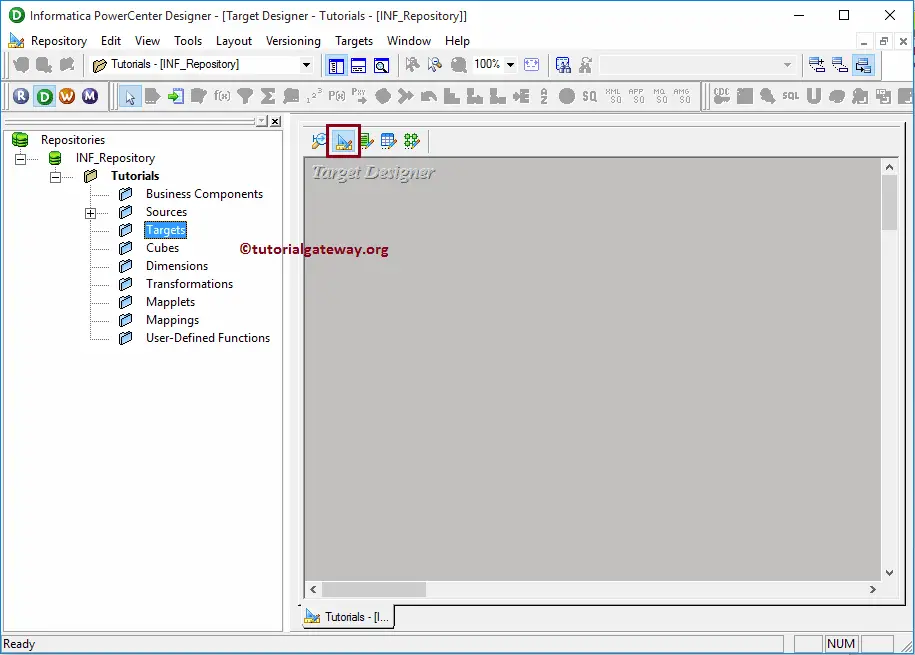
Before we start to Create Target Table in Informatica, First connect to the repository service with your Admin credentials and then Navigate to Target Designer.
Please refer to the Target Designer article to understand the Target Designer screen. From the below screenshot, you can observe that we are in the Informatica Target Designer.
TIP: Target Menu in the Menu bar is available only when you are in the Target Designer section.
Next, Please navigate to the Targets menu in Menu Bar. From the following screenshot, you can observe the list of available targets inside the Informatica PowerCenter Designer. In this example, our task is to create a target table in Informatica from scratch. So, we are selecting the Create option.
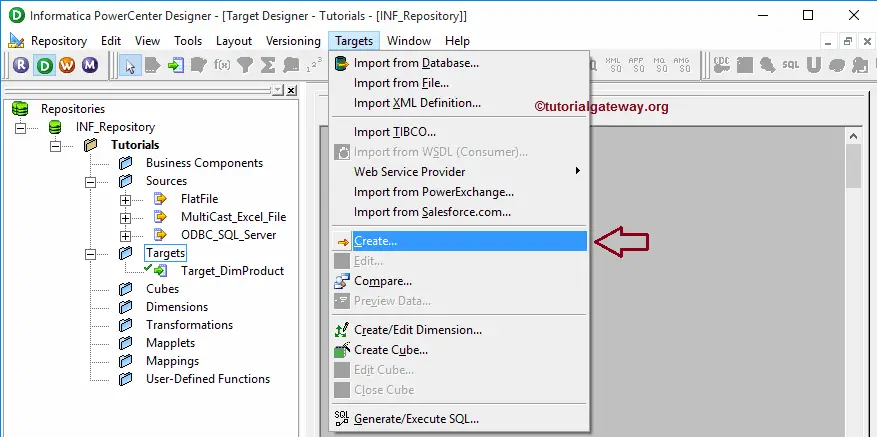
Once you select the Create option, a new window called Create Target table will be displayed:
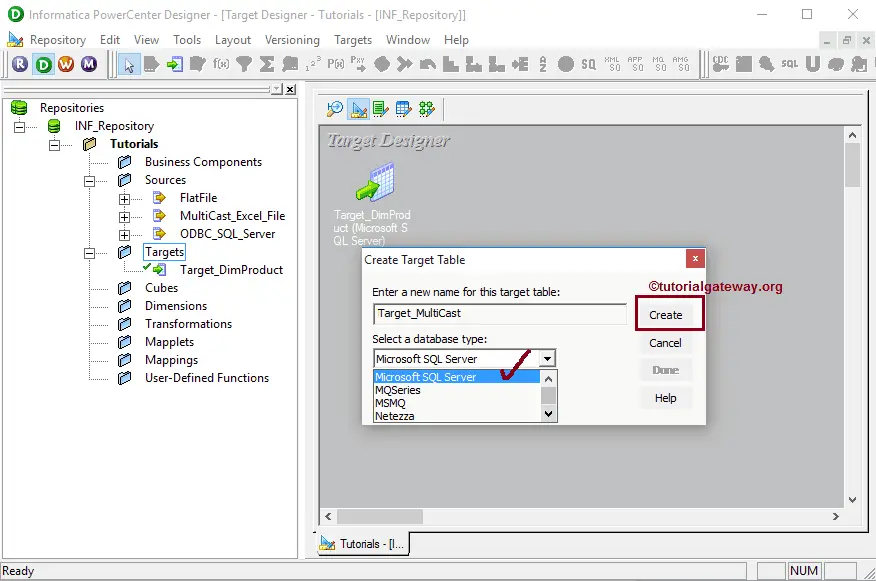
- Enter a new name for this table: Please provide the unique name for this new table. We assigned Target_Multicast as the new name for this table.
- Select a database type: Please select the required database type from the list of available databases. Here we are selecting the Microsoft SQL Server.
Once you are done filling in the details, please click on the Create button to create a new empty table in our PowerCenter Target Designer.
We successfully created a new empty target table in Informatica Target Designer.

To add new columns, we can edit the table definition by right-clicking on the table definition and selecting the Edit..option from the context menu.
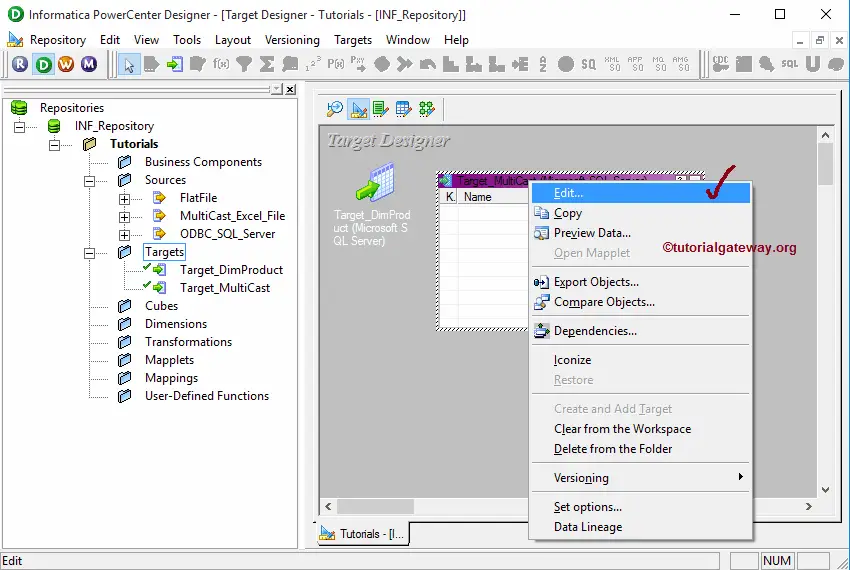
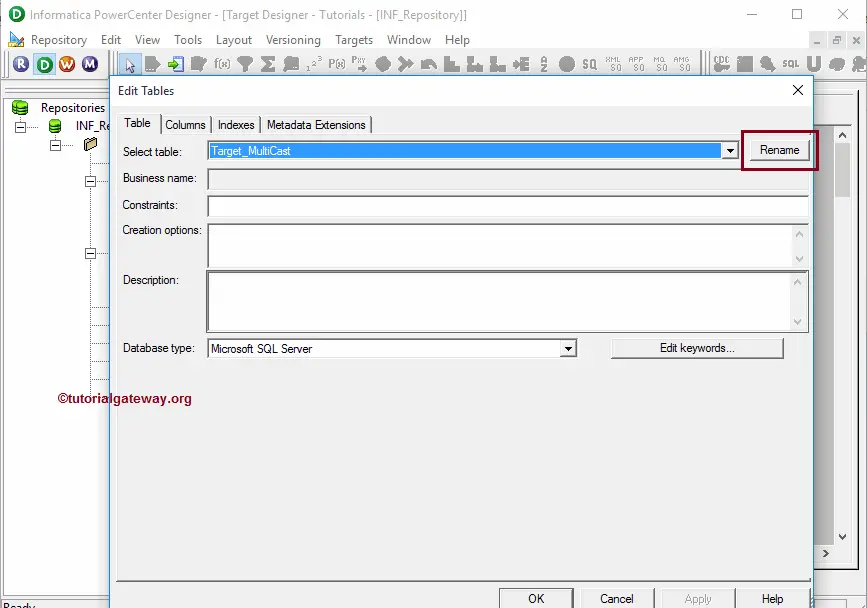
Once you select the Edit.. option, a new window called Edit tables will open. Within the Table tab, we can rename the table name by clicking the Rename button. Please change as per your requirements.
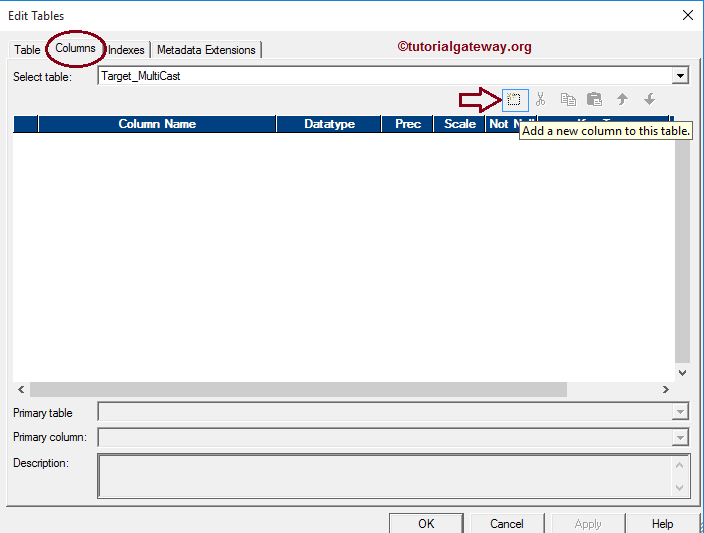
To alter or modify the existing table, we have to navigate to Columns Tab. Here we want to add new columns, so please select the first button (before the scissors symbol) as shown below. It opens an empty row to add Column Name, Data Type, Precision (if required), and Scale (if needed).
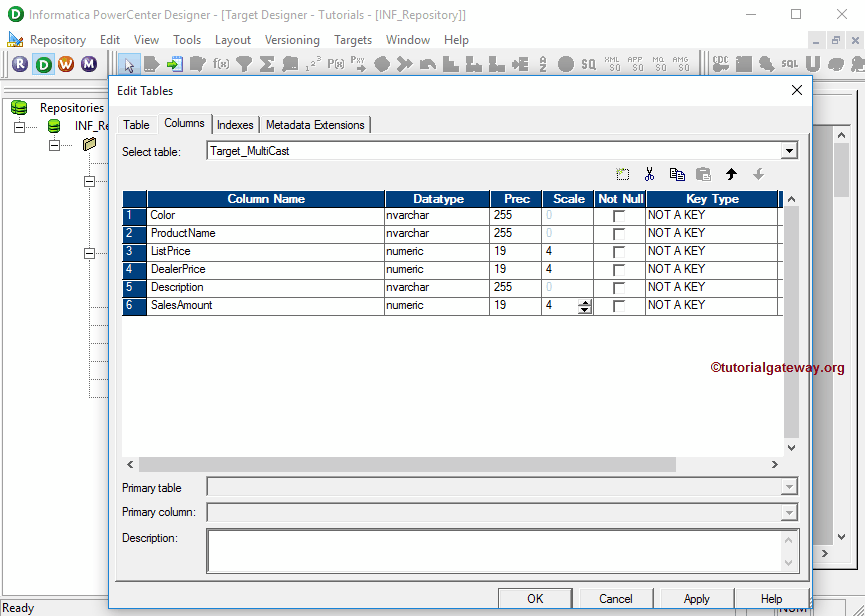
If it is a primary key, then change the Key type to primary and checkmark the Not Null option (if your column doesn’t allow null values)
We added six columns with three NVarchar data types and three Numeric data types. Once you have added the required columns, Click OK to close the Edit tables window.
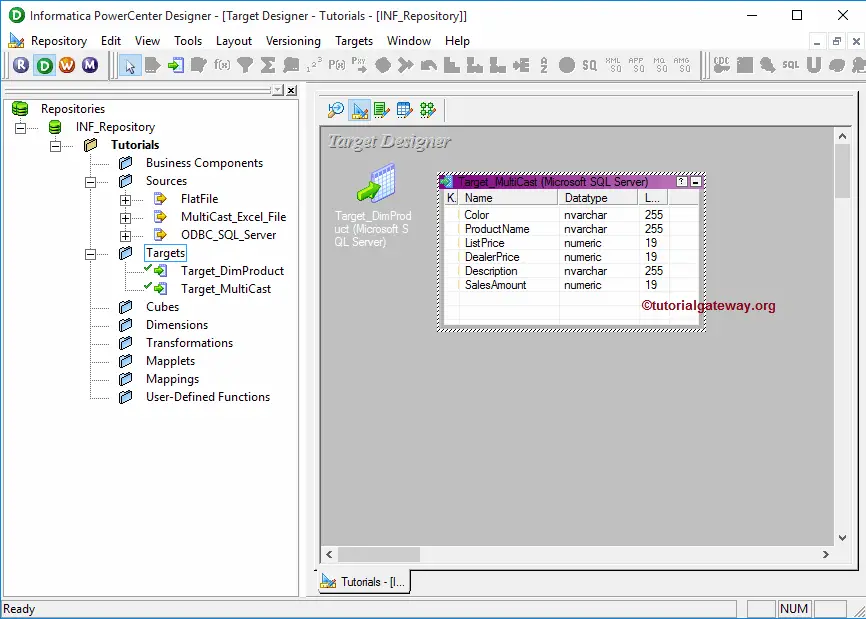
From the below screenshot, see our newly created target table in Informatica. And also the table definition (Column Names and appropriate data types) inside our workspace.
NOTE: The target tables we created in Informatica PowerCenter will only exist in the target designer. If you want to add this table definition to SQL Server, we have to follow the steps we specified in Create Target table using the Source Definition article (Starting from Step 1 to Step 8)