
SSAS Dimensions are the group of attributes (nothing but columns) based on the dimension tables in the Data Source View. All these attributes shown as attribute Hierarchies and Analysis services provide us an option to create User Defined Hierarchy as well.
In SSAS, dimensions are of two types, such as Database Dimension and Cube Dimension. Please refer Difference between Database Dimension and Cube Dimension in SSAS article to know the Difference between Database Dimension and Cube Dimension in SQL Server Analysis Services.
Creating Dimensions in SSAS Example
Within the Solution Explorer, Right-click the Dimensions folder and select New Dimension from the Context Menu to create a new one.
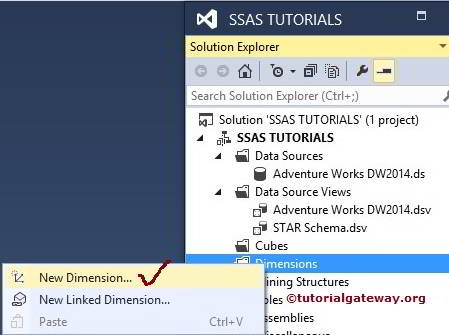
By clicking on the New, Dimension option will open the Dimension Wizard.
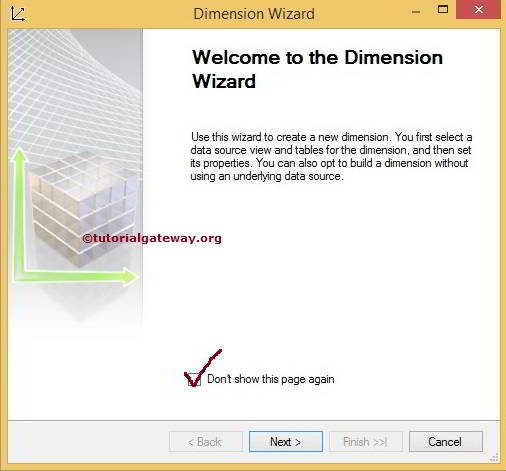
The first page of the SSAS Dimension wizard is a Welcome page. If you don’t want to see this page again, then Don’t show this page again option as shown in the below screenshot and click on the next
The next page is the Select Creation Method, and this page gives four options to create the Dimension in SSAS.
- Use an Existing Table: It will use the existing tables present in the Data Source View.
- Generate a Time Table in the Data Source: This option will generate the time-table and saves it in the data source.
- Generate a Time Table on the Server: This option generates the time-table and saves the table directly in the Server.
- Generate a Non-Time Table in the Data Source: This option will generate the regular tables and saves it in the data source. It has the template to select whether you want to create customer, Employee, Department, Geography, etc.
In general, we use the first option only (Use an existing table) because it will use the required table from the Data Source View. However, if we don’t know how to create a particular table, then use the templates provided here to design it.

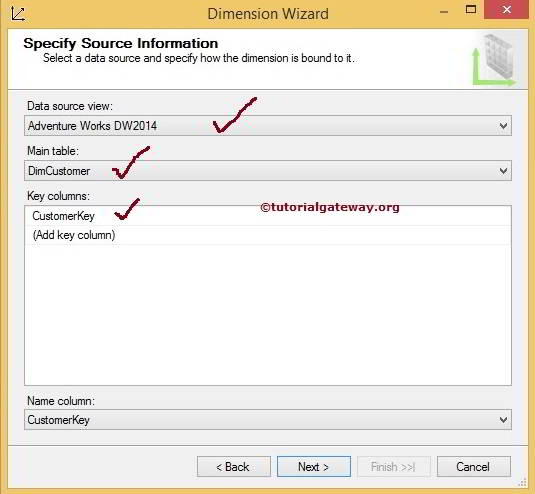
Click on the Next button will open the Specify Source Information page to configure the Data Source View, Table, and Key columns.
For this Example, Select the Data Source View we created earlier in the SSAS Data Source View article. We intend to create a dimension from the DimCustomer table. So, select the same table from the Main table drop-down list. Every dimension table needs to have a key attribute, and CustomerKey is the primary key column for this table.
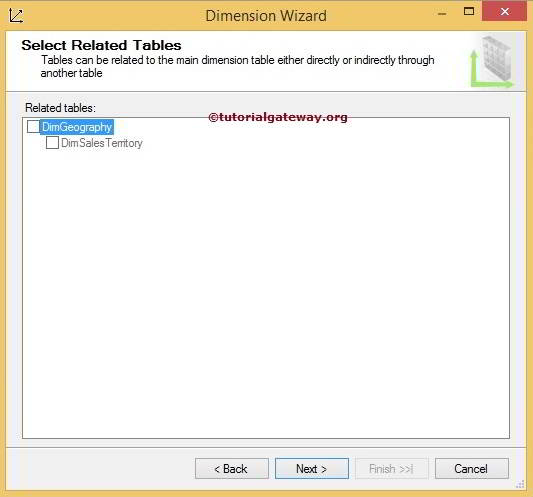
Click on the Next button will take the SSAS Dimension Wizard to Select Related Tables page. Here it will display the dependent tables (tables that are connected with Dim Customers using foreign Key relationship). For now, we are selecting them.
Click on the Next Button will open the Select Dimension Attributes page. On this page, we have three sections to understand.
- Available Attributes: It displays all the available columns (attributes) of the Dim Customer table present in the Data Source View. We can select all the columns, or else we can choose the required columns. It is always advisable to choose the required columns.
- Enable Browsing: If you checkmark this option, then that column will be available for browsing in the cube. If you uncheck this option, it won’t be visible to client applications when they browse the Dimension. Sometimes we may need id column for reference purpose, but not required to slice the data, and then you can uncheck them from browsing.
- Attribute Types: SQL Server Analysis Services provides many Attribute Types while creating Dimensions. Select the appropriate one, and if you don’t know which attribute type to choose, then select a regular type. For example, For the Calendar year column, select the calendar year attribute type.
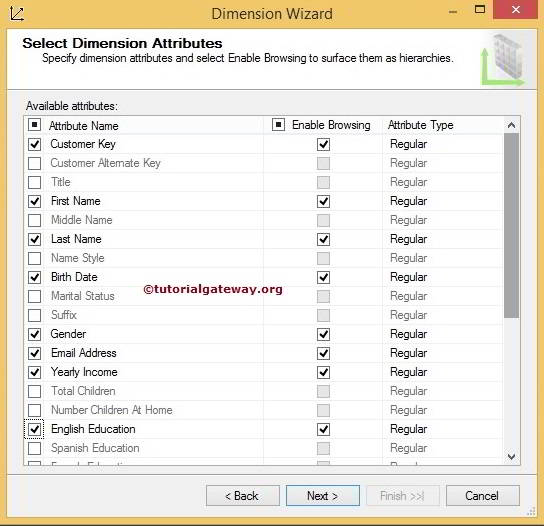
For the time being, we selected a few columns from the Dim Customer, and also we haven’t changed the Attribute Types from regular to appropriate one.
NOTE: It is always a good practice to select the specific attribute type rather than the regular type. Especially for the time and account dimensions, we must specify the attribute type. Because it will help when working with the MDX.
Now the next step is to give specific or anything appropriate name to the dimension. In this example, we are naming it as Dim Customer.
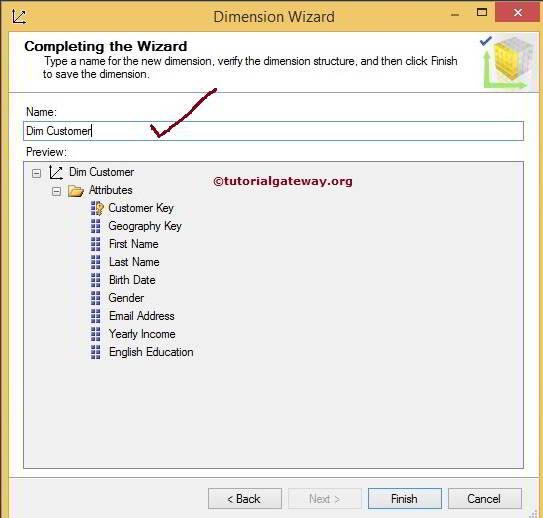
Click on the finish button to finish creating Dimension in SSAS.
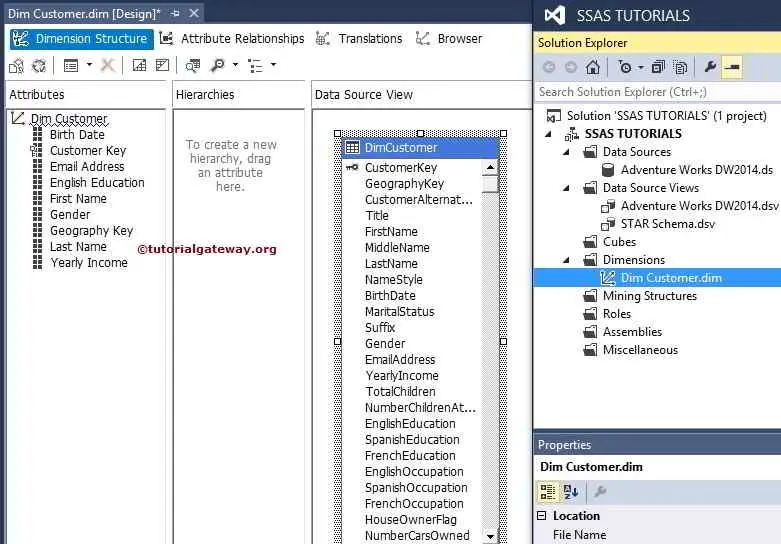
From the below screenshot you can observe that,
- In the solution explorer, we have Dim Customer dimension under the Dimensions folder.
- Attributes pane have only the selected attributes (Columns). These are the ones we chose while creating Dimension using Dimension Wizard.
- Hierarchies pane is empty because we haven’t created any User Defined Hierarchy yet.
- Data Source View will show all the available columns in the Dim Customer table.
Well we successfully created our First Dimension in SSAS